文章目录
- Spring Security概念
- 快速入门案例
- 环境准备
- Spring配置文件
- SpringMVC配置文件
- log4j配置文件
- web.xml
- Tomcat插件
- 整合SpringSecurity
- 认证操作
- 自定义登录页面
- 关闭CSRF拦截
- 数据库认证
- 加密
- 认证状态
- 记住我
- 授权
- 注解使用
- 标签使用
Spring Security概念
Spring Security是Spring采用 AOP思想,基于 servlet过滤器实现的安全框架。它提供了完善的认证机制和方法级的授权功能。是一款非常优秀的权限管理框架。
特征
- 对身份验证和授权的全面且可扩展的支持
- 保护免受会话固定,劫持,跨站点请求伪造等攻击
- Servlet API集成
- 与Spring Web MVC的可选集成
快速入门案例
环境准备
准备一个SpringMVC+Spring+jsp的Web环境,然后在这个基础上整合SpringSecurity。
添加相关的依赖
<dependencies><dependency><groupId>junit</groupId><artifactId>junit</artifactId><version>4.11</version><scope>test</scope></dependency><dependency><groupId>org.springframework</groupId><artifactId>spring-webmvc</artifactId><version>5.2.1.RELEASE</version></dependency><dependency><groupId>javax.servlet</groupId><artifactId>servlet-api</artifactId><version>2.5</version><scope>provided</scope></dependency><dependency><groupId>org.slf4j</groupId><artifactId>slf4j-log4j12</artifactId><version>1.7.25</version></dependency></dependencies>
Spring配置文件
<?xml version="1.0" encoding="UTF-8"?>
<beans xmlns="http://www.springframework.org/schema/beans"xmlns:xsi="http://www.w3.org/2001/XMLSchema-instance"xmlns:context="http://www.springframework.org/schema/context"xsi:schemaLocation="http://www.springframework.org/schema/beanshttp://www.springframework.org/schema/beans/spring-beans.xsdhttp://www.springframework.org/schema/contexthttp://www.springframework.org/schema/context/spring-context.xsd"><context:component-scan base-package="com.xx.service" ></context:component-scan></beans>
SpringMVC配置文件
<?xml version="1.0" encoding="UTF-8"?>
<beans xmlns="http://www.springframework.org/schema/beans"xmlns:xsi="http://www.w3.org/2001/XMLSchema-instance"xmlns:context="http://www.springframework.org/schema/context"xmlns:mvc="http://www.springframework.org/schema/mvc"xsi:schemaLocation="http://www.springframework.org/schema/beanshttp://www.springframework.org/schema/beans/spring-beans.xsdhttp://www.springframework.org/schema/contexthttp://www.springframework.org/schema/context/spring-context.xsdhttp://www.springframework.org/schema/mvchttp://www.springframework.org/schema/mvc/spring-mvc.xsd"><context:component-scan base-package="com.xx.controller"></context:component-scan><mvc:annotation-driven ></mvc:annotation-driven></beans>
log4j配置文件
log4j.properties文件
log4j.rootCategory=INFO, stdoutlog4j.appender.stdout=org.apache.log4j.ConsoleAppender
log4j.appender.stdout.layout=org.apache.log4j.PatternLayout
log4j.appender.stdout.layout.ConversionPattern=[QC] %p [%t] %C.%M(%L) | %m%n
web.xml
web.xml
<!DOCTYPE web-app PUBLIC"-//Sun Microsystems, Inc.//DTD Web Application 2.3//EN""http://java.sun.com/dtd/web-app_2_3.dtd" ><web-app version="2.5" id="WebApp_ID" xmlns="http://java.sun.com/xml/ns/javaee"xmlns:xsi="http://www.w3.org/2001/XMLSchema-instance"xsi:schemaLocation="http://java.sun.com/xml/ns/javaeehttp://java.sun.com/xml/ns/javaee/web-app_2_5.xsd"><display-name>Archetype Created Web Application</display-name><!-- 初始化spring容器 --><context-param><param-name>contextConfigLocation</param-name><param-value>classpath:applicationContext.xml</param-value></context-param><listener><listener-class>org.springframework.web.context.ContextLoaderListener</listener-class></listener><!-- post乱码过滤器 --><filter><filter-name>CharacterEncodingFilter</filter-name><filter-class>org.springframework.web.filter.CharacterEncodingFilter</filter-class><init-param><param-name>encoding</param-name><param-value>utf-8</param-value></init-param></filter><filter-mapping><filter-name>CharacterEncodingFilter</filter-name><url-pattern>/*</url-pattern></filter-mapping><!-- 前端控制器 --><servlet><servlet-name>dispatcherServletb</servlet-name><servlet-class>org.springframework.web.servlet.DispatcherServlet</servlet-class><!-- contextConfigLocation不是必须的, 如果不配置contextConfigLocation, springmvc的配置文件默认在:WEB-INF/servlet的name+"-servlet.xml" --><init-param><param-name>contextConfigLocation</param-name><param-value>classpath:spring-mvc.xml</param-value></init-param><load-on-startup>1</load-on-startup></servlet><servlet-mapping><servlet-name>dispatcherServletb</servlet-name><!-- 拦截所有请求jsp除外 --><url-pattern>/</url-pattern></servlet-mapping></web-app>Tomcat插件
添加Tomcat的插件 启动测试
<plugins><plugin><groupId>org.apache.tomcat.maven</groupId><artifactId>tomcat7-maven-plugin</artifactId><version>2.2</version><configuration><port>8082</port><path>/</path></configuration></plugin></plugins>
整合SpringSecurity
添加相关的依赖
spring-security-core.jar 核心包,任何SpringSecurity的功能都需要此包
spring-security-web.jar:web工程必备,包含过滤器和相关的web安全的基础结构代码
spring-security-config.jar:用于xml文件解析处理
spring-security-tablibs.jar:动态标签库
<!-- 添加SpringSecurity的相关依赖 -->
<dependency><groupId>org.springframework.security</groupId><artifactId>spring-security-config</artifactId><version>5.1.5.RELEASE</version>
</dependency>
<dependency><groupId>org.springframework.security</groupId><artifactId>spring-security-taglibs</artifactId><version>5.1.5.RELEASE</version>
</dependency>
web.xml文件中配置SpringSecurity
<!-- 配置过滤器链 springSecurityFilterChain 名称固定 --><filter><filter-name>springSecurityFilterChain</filter-name><filter-class>org.springframework.web.filter.DelegatingFilterProxy</filter-class></filter><filter-mapping><filter-name>springSecurityFilterChain</filter-name><url-pattern>/*</url-pattern></filter-mapping>
添加SpringSecurity的配置文件
<?xml version="1.0" encoding="UTF-8"?>
<beans xmlns="http://www.springframework.org/schema/beans"xmlns:xsi="http://www.w3.org/2001/XMLSchema-instance"xmlns:security="http://www.springframework.org/schema/security"xsi:schemaLocation="http://www.springframework.org/schema/beanshttp://www.springframework.org/schema/beans/spring-beans.xsdhttp://www.springframework.org/schema/securityhttp://www.springframework.org/schema/security/spring-security.xsd"><!-- SpringSecurity配置文件 --><!--auto-config:表示自动加载SpringSecurity的配置文件use-expressions:表示使用Spring的EL表达式--><security:http auto-config="true" use-expressions="true"><!--拦截资源pattern="/**" 拦截所有的资源access="hasAnyRole('ROLE_USER')" 表示只有ROLE_USER 这个角色可以访问资源--><security:intercept-url pattern="/**" access="hasAnyRole('ROLE_USER')" ></security:intercept-url></security:http><!-- 认证用户信息 --><security:authentication-manager><security:authentication-provider><security:user-service ><!-- 设置一个账号 zhangsan 密码123 {noop} 表示不加密 具有的角色是  ROLE_USER--><security:user name="zhangsan" authorities="ROLE_USER" password="{noop}123" ></security:user><security:user name="lisi" authorities="ROLE_USER" password="{noop}123456" ></security:user></security:user-service></security:authentication-provider></security:authentication-manager>
</beans>
将SpringSecurity的配置文件引入到Spring配置文件中
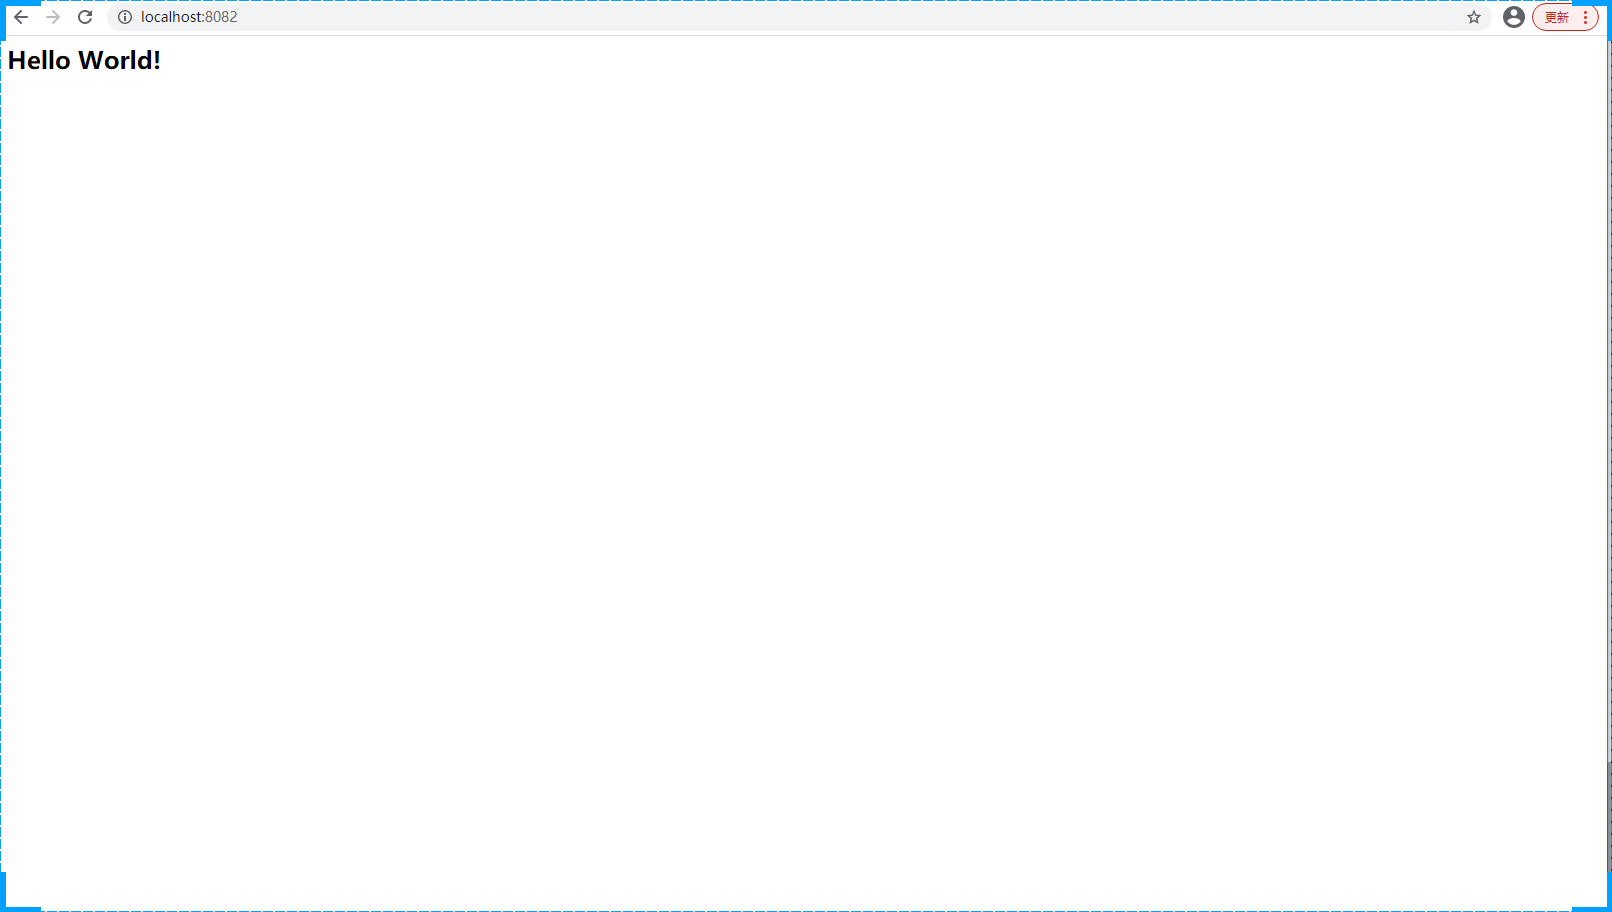
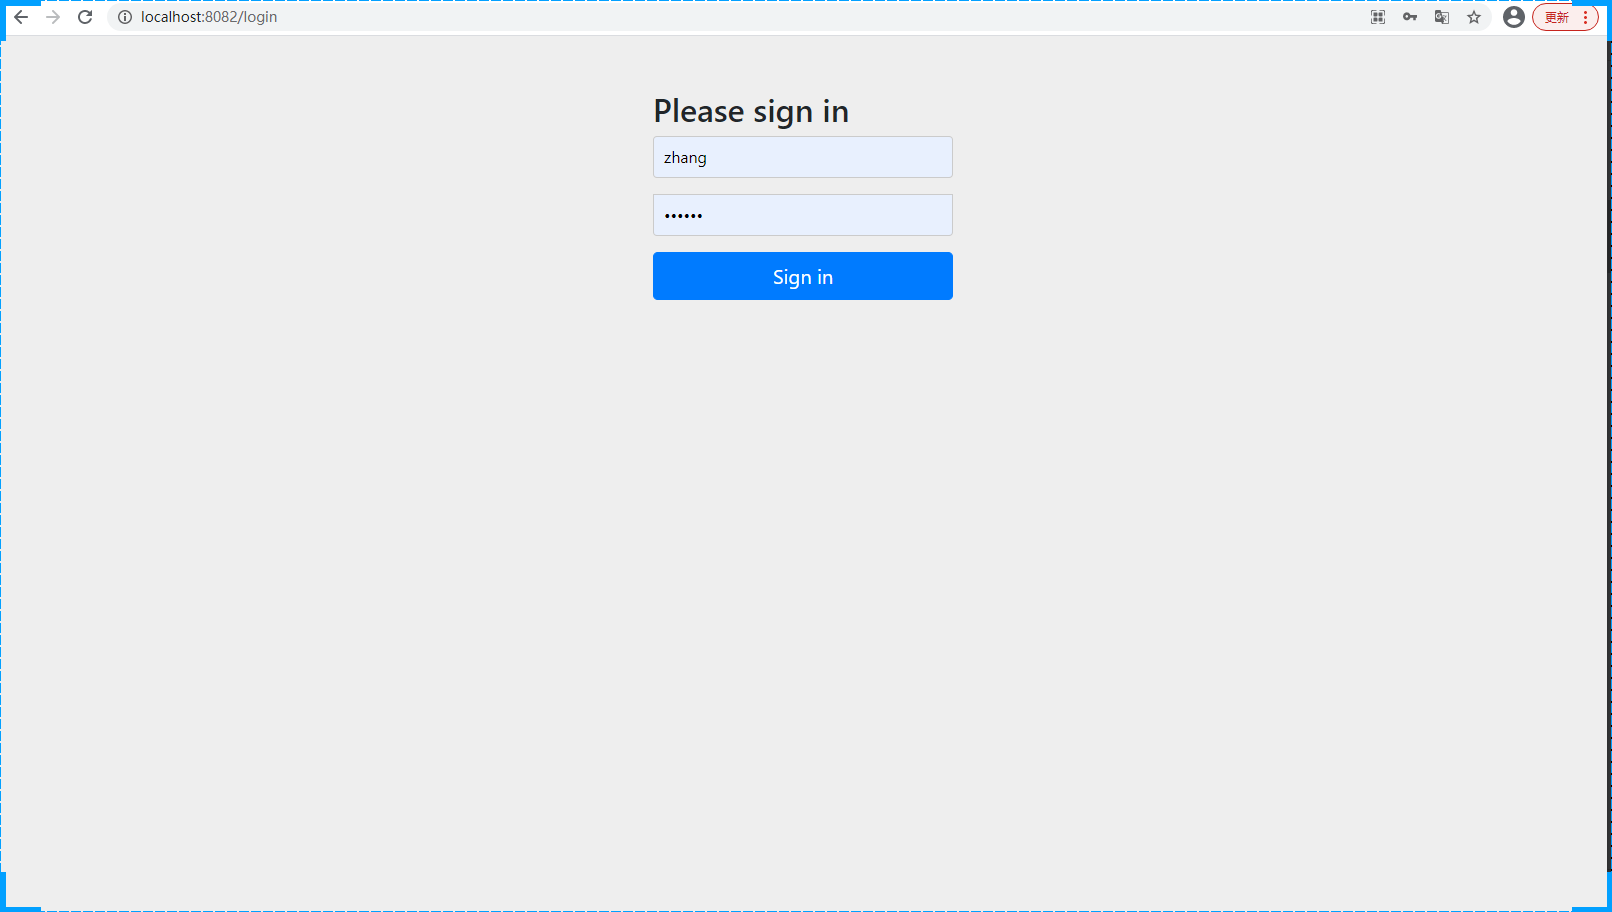
启动测试访问
认证操作
自定义登录页面
如何使用我们自己写的登录页面呢?
<%--Created by IntelliJ IDEA.User: dpbDate: 2021/3/16Time: 16:57To change this template use File | Settings | File Templates.
--%>
<%@ page contentType="text/html;charset=UTF-8" language="java" %>
<html>
<head><title>Title</title>
</head>
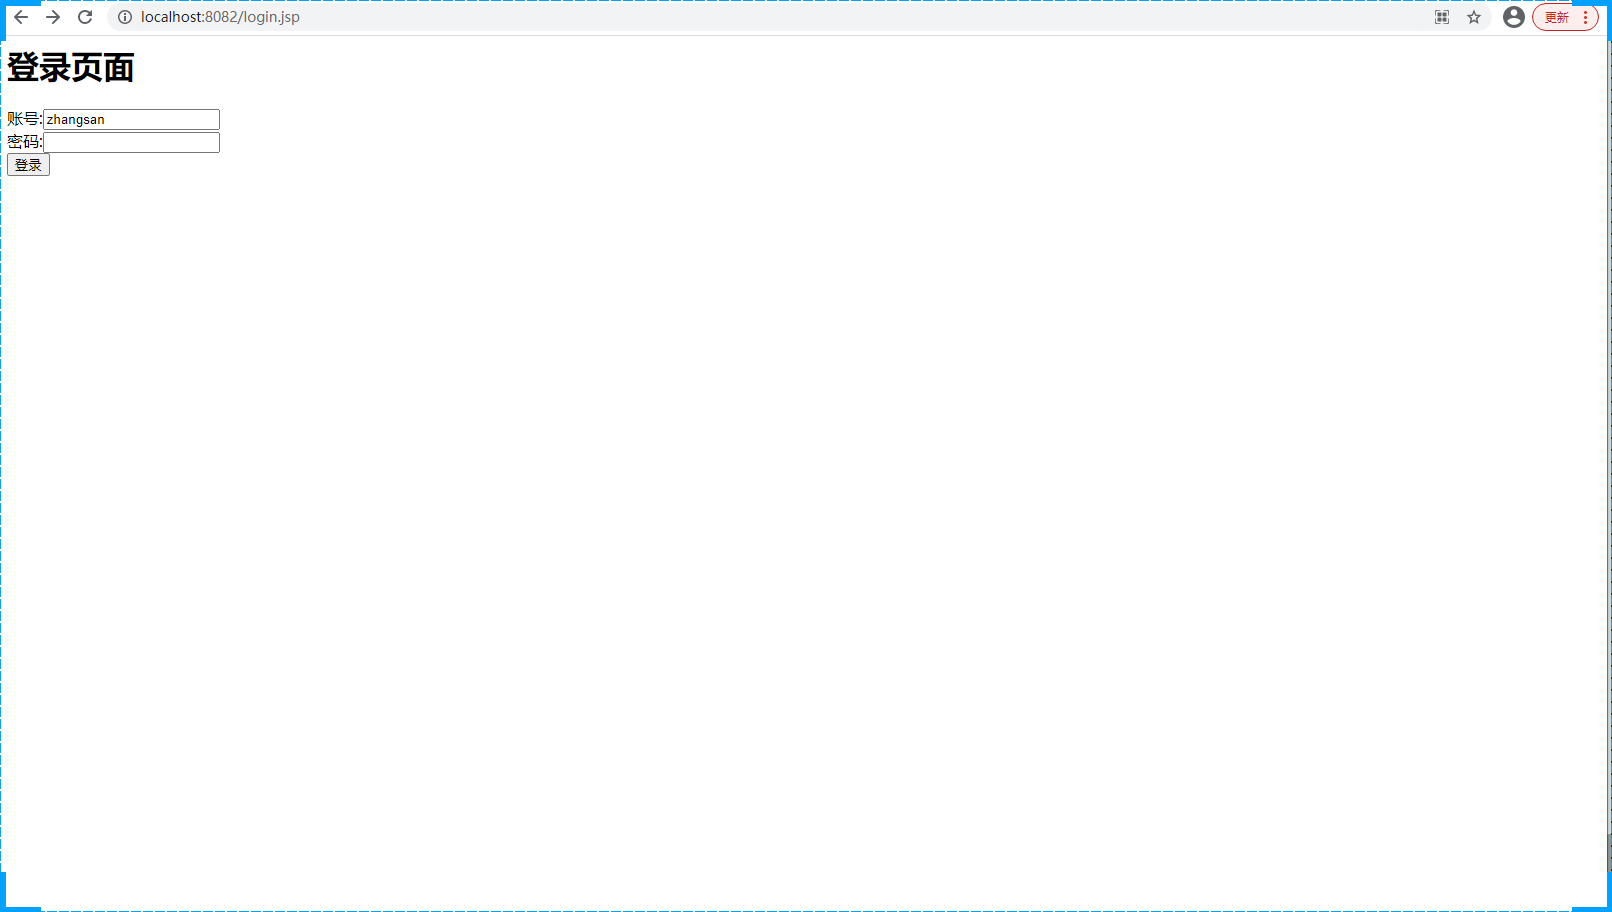
<body><h1>登录页面</h1><form action="/login" method="post">账号:<input type="text" name="username"><br>密码:<input type="password" name="password"><br><input type="submit" value="登录"></form>
</body>
</html>修改相关的配置文件
<?xml version="1.0" encoding="UTF-8"?>
<beans xmlns="http://www.springframework.org/schema/beans"xmlns:xsi="http://www.w3.org/2001/XMLSchema-instance"xmlns:security="http://www.springframework.org/schema/security"xsi:schemaLocation="http://www.springframework.org/schema/beanshttp://www.springframework.org/schema/beans/spring-beans.xsdhttp://www.springframework.org/schema/securityhttp://www.springframework.org/schema/security/spring-security.xsd"><!-- SpringSecurity配置文件 --><!--auto-config:表示自动加载SpringSecurity的配置文件use-expressions:表示使用Spring的EL表达式--><security:http auto-config="true" use-expressions="true"><!-- 匿名访问登录页面--><security:intercept-url pattern="/login.jsp" access="permitAll()"/><!--拦截资源pattern="/**" 拦截所有的资源access="hasAnyRole('ROLE_USER')" 表示只有ROLE_USER 这个角色可以访问资源--><security:intercept-url pattern="/**" access="hasAnyRole('ROLE_USER')" /><!--配置认证的信息--><security:form-login login-page="/login.jsp"login-processing-url="/login"default-target-url="/home.jsp"authentication-failure-url="/error.jsp"/><!-- 注销 --><security:logout logout-url="/logout"logout-success-url="/login.jsp" /></security:http><!-- 认证用户信息 --><security:authentication-manager><security:authentication-provider><security:user-service ><!-- 设置一个账号 zhangsan 密码123 {noop} 表示不加密 具有的角色是  ROLE_USER--><security:user name="zhangsan" authorities="ROLE_USER" password="{noop}123" ></security:user><security:user name="lisi" authorities="ROLE_USER" password="{noop}123456" ></security:user></security:user-service></security:authentication-provider></security:authentication-manager>
</beans>
访问home.jsp页面后会自动跳转到自定义的登录页面
但是当提交了请求后页面出现了如下的错误
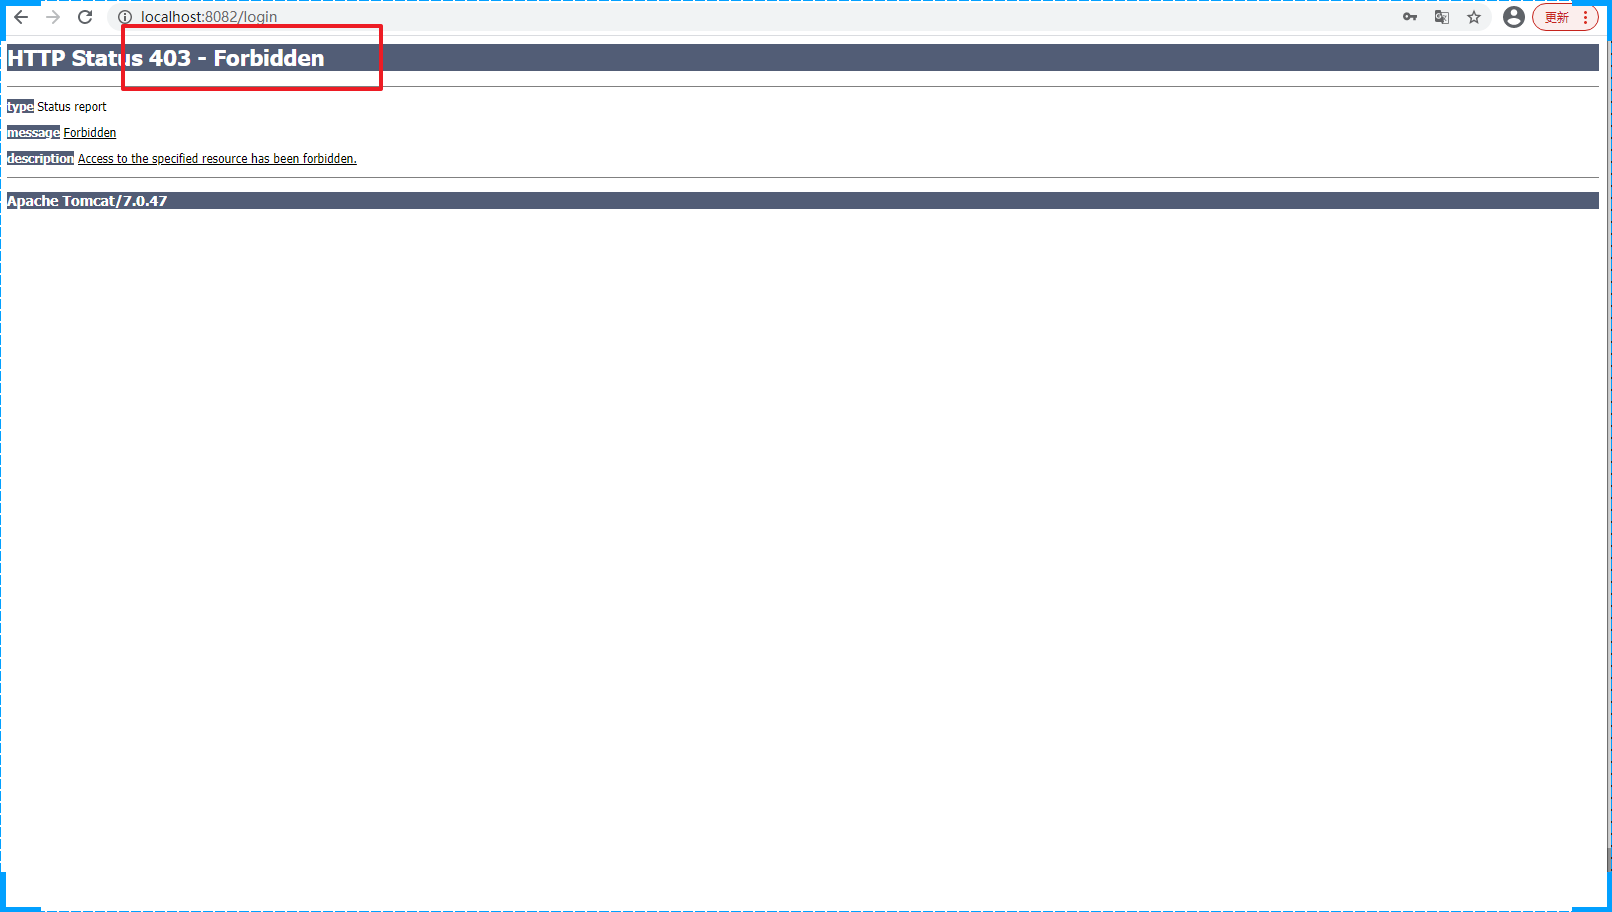
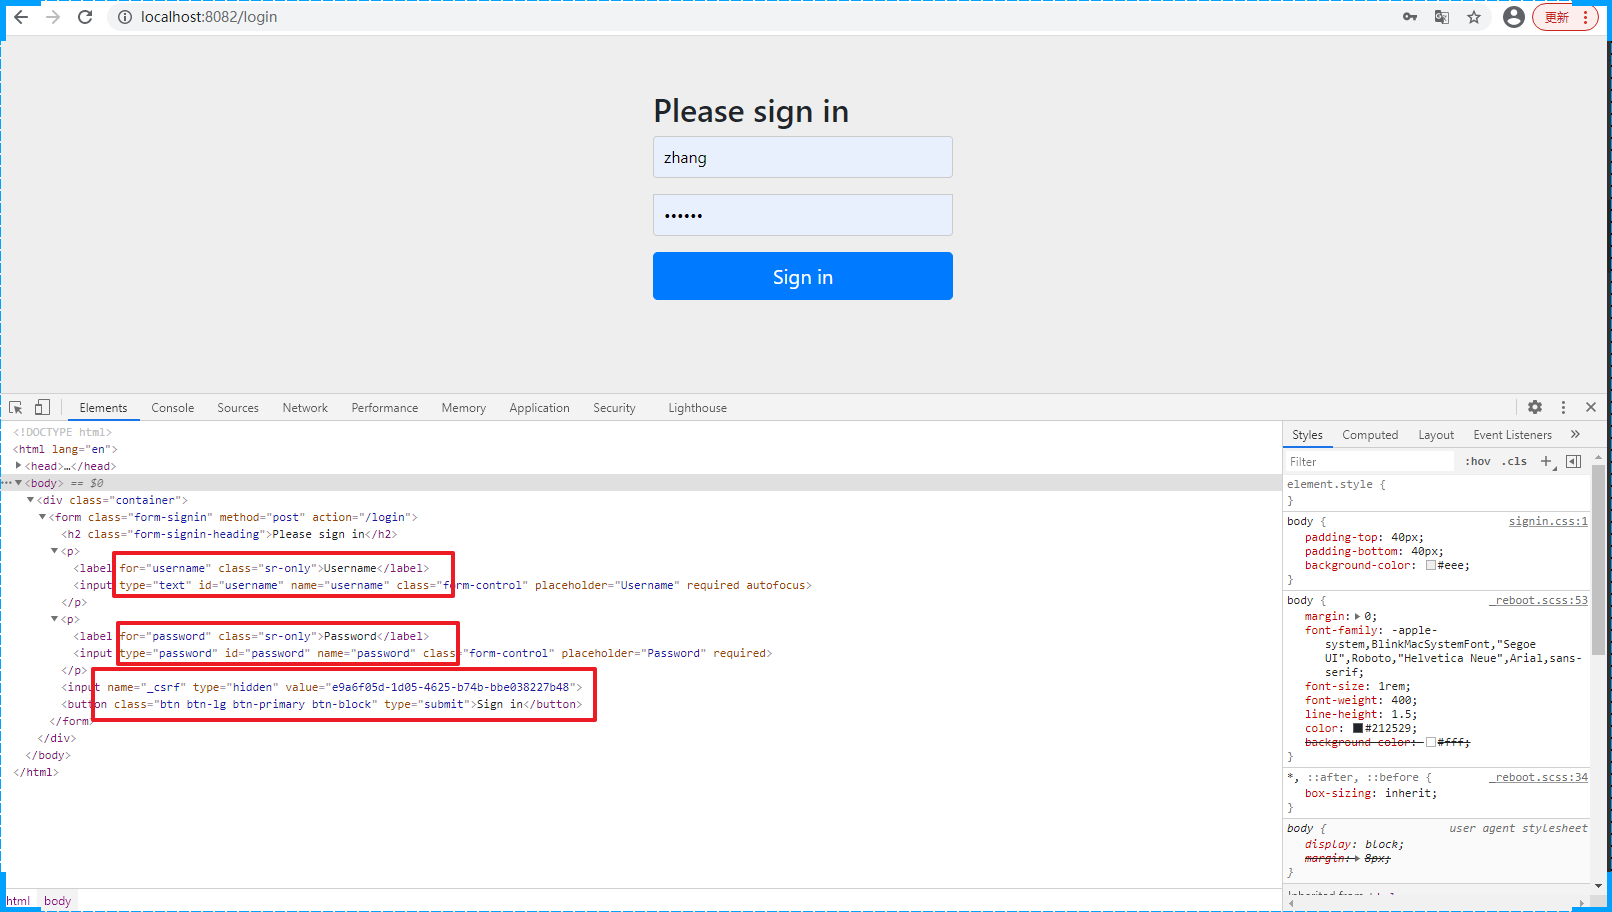
关闭CSRF拦截
为什么系统默认的登录页面提交没有CRSF拦截的问题呢
自定义的认证页面没有这个信息怎么办呢?两种方式:
-
关闭CSRF拦截
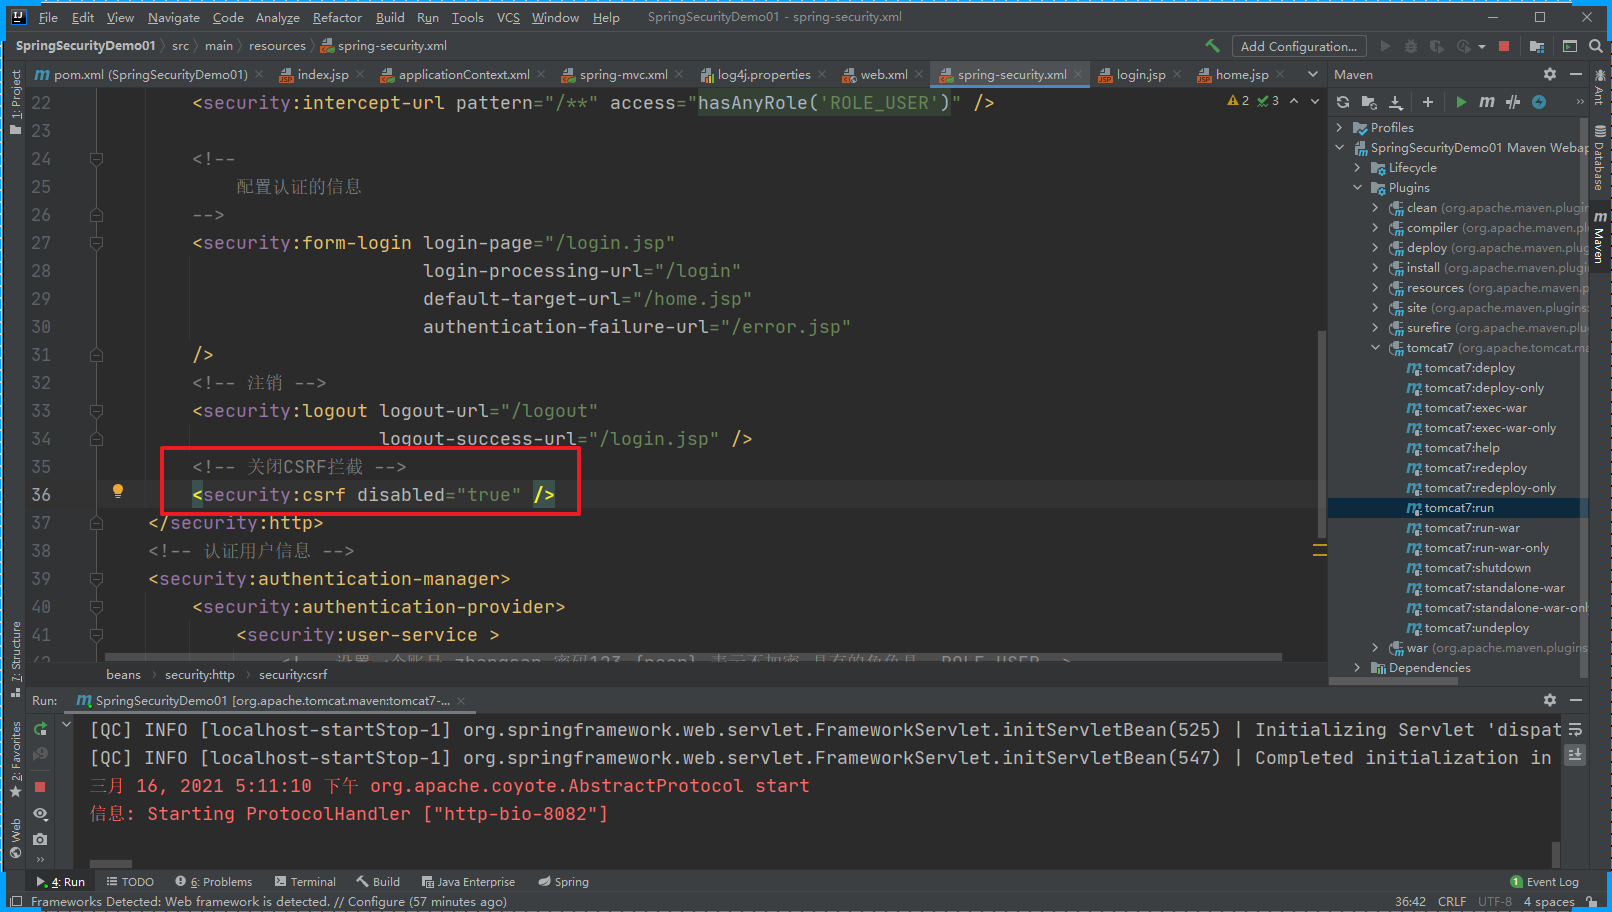
再次登录显示成功 -
使用CSRF防护
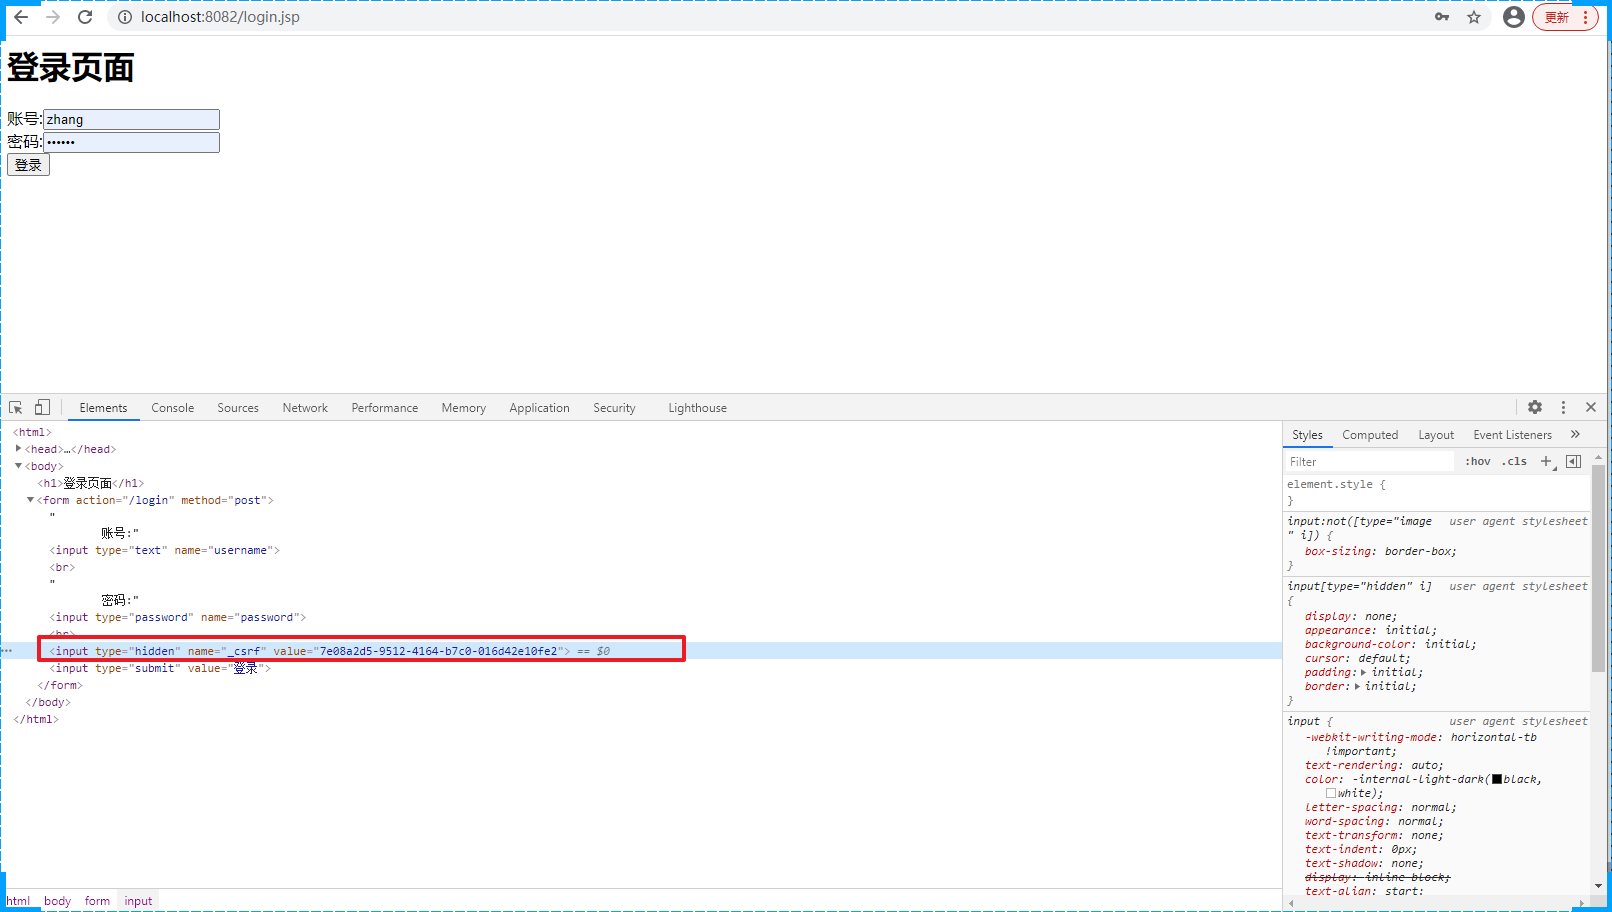
在页面中添加对应taglib
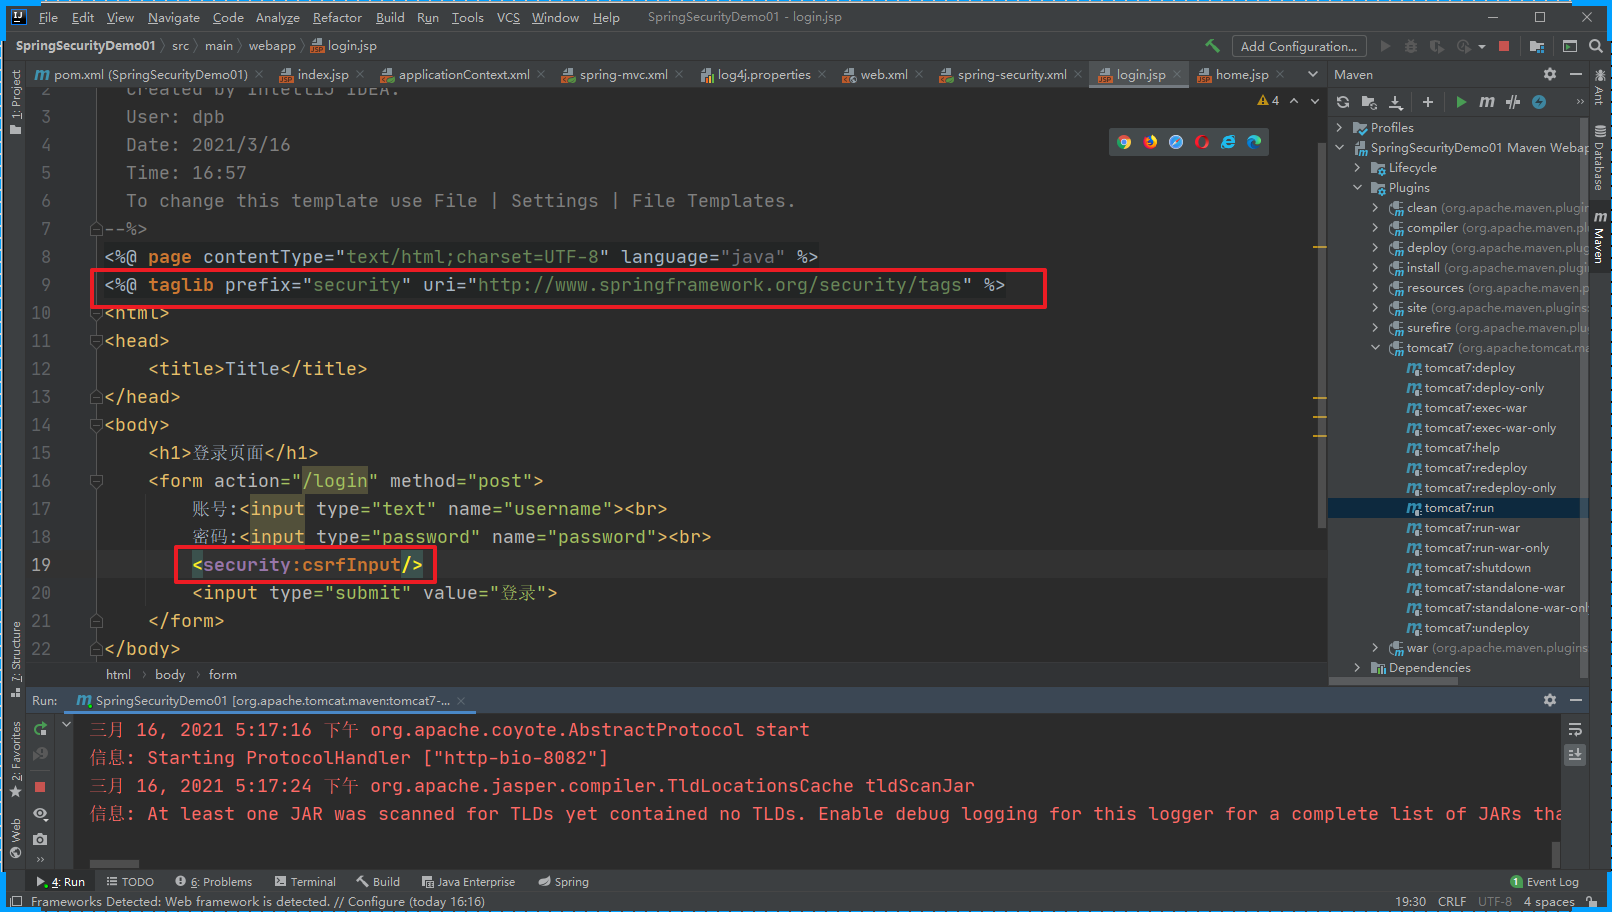
访问登录页面可以看到csrf的信息,再次登陆即可成功。
数据库认证
前面的案例账号信息是直接写在配置文件中的,这显然是不太好的,如何实现和数据库中的信息进行认证?
添加相关的依赖
<dependency><groupId>org.mybatis</groupId><artifactId>mybatis</artifactId><version>3.5.4</version></dependency><dependency><groupId>org.mybatis</groupId><artifactId>mybatis-spring</artifactId><version>2.0.4</version></dependency><dependency><groupId>mysql</groupId><artifactId>mysql-connector-java</artifactId><version>8.0.11</version></dependency><dependency><groupId>com.alibaba</groupId><artifactId>druid</artifactId><version>1.1.8</version></dependency>
添加配置文件
jdbc.driver=com.mysql.cj.jdbc.Driver
jdbc.url=jdbc:mysql://localhost:3306/logistics?characterEncoding=utf-8&serverTimezone=UTC
jdbc.username=root
jdbc.password=123456
<?xml version="1.0" encoding="UTF-8"?>
<beans xmlns="http://www.springframework.org/schema/beans"xmlns:xsi="http://www.w3.org/2001/XMLSchema-instance"xmlns:context="http://www.springframework.org/schema/context"xsi:schemaLocation="http://www.springframework.org/schema/beanshttp://www.springframework.org/schema/beans/spring-beans.xsdhttp://www.springframework.org/schema/contexthttp://www.springframework.org/schema/context/spring-context.xsd"><context:component-scan base-package="com.xxx.service" ></context:component-scan><!-- SpringSecurity的配置文件 --><import resource="classpath:spring-security.xml" /><context:property-placeholder location="classpath:db.properties" /><bean class="com.alibaba.druid.pool.DruidDataSource" id="dataSource"><property name="url" value="${jdbc.url}" /><property name="driverClassName" value="${jdbc.driver}" /><property name="username" value="${jdbc.username}" /><property name="password" value="${jdbc.password}" /></bean><bean class="org.mybatis.spring.SqlSessionFactoryBean" id="sessionFactoryBean" ><property name="dataSource" ref="dataSource" /><property name="configLocation" value="classpath:mybatis-config.xml" /><property name="mapperLocations" value="classpath:mapper/*.xml" /></bean><bean class="org.mybatis.spring.mapper.MapperScannerConfigurer"><property name="basePackage" value="com.xxx.mapper" /></bean>
</beans>
需要完成认证的service中继承 UserDetailsService父接口
实现类中实现验证方法
@Service
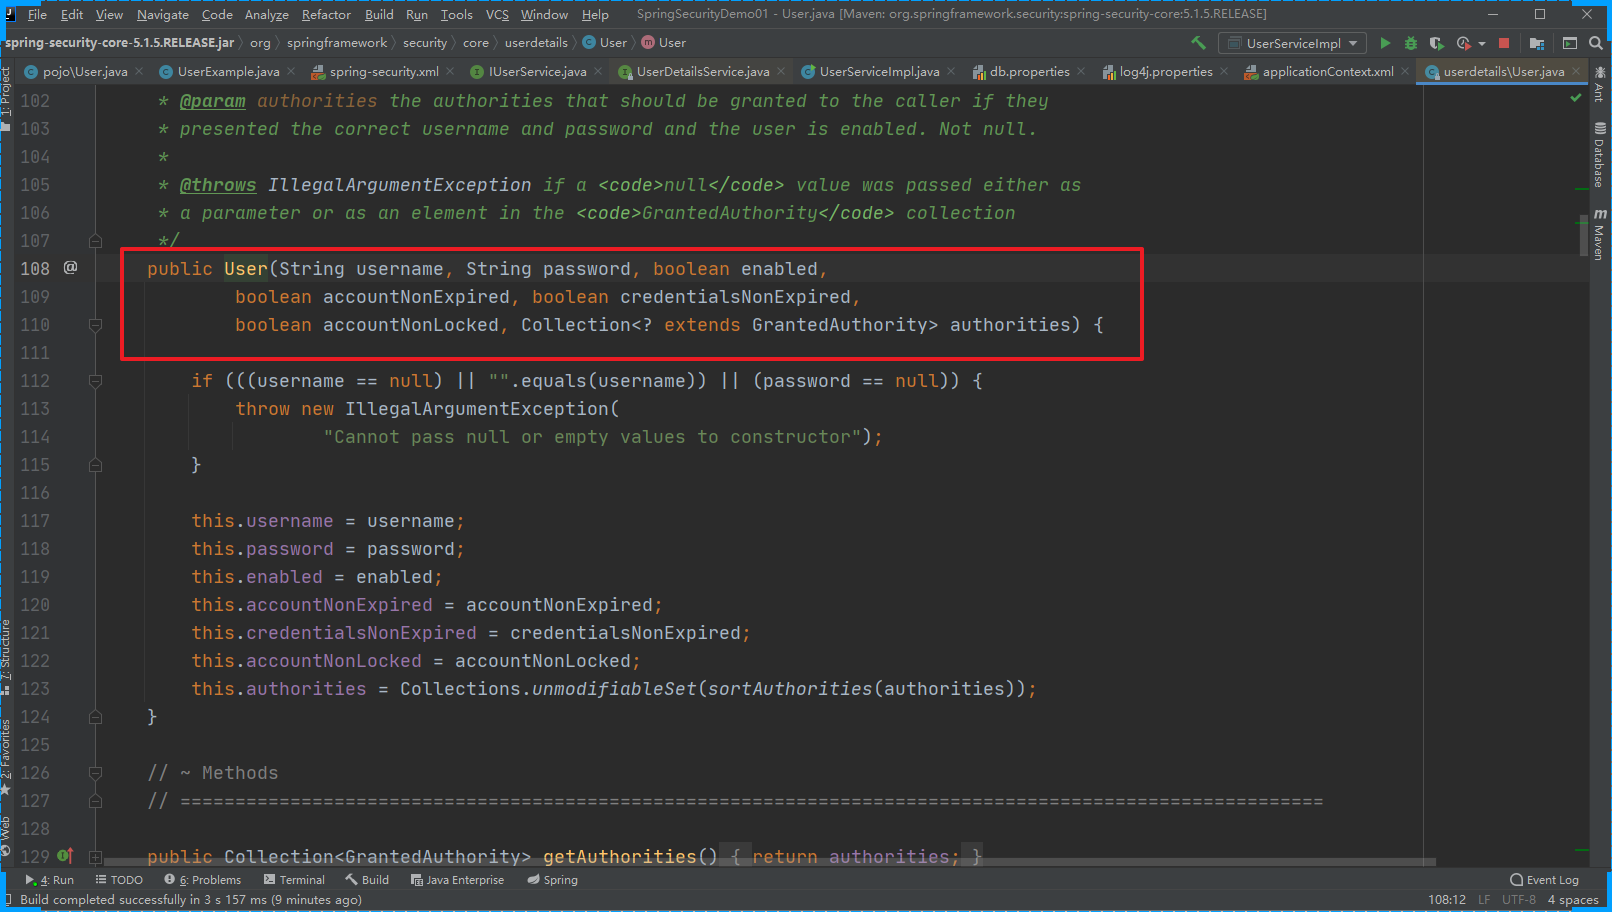
public class UserServiceImpl extends UserDetailsService {@Autowiredprivate UserMapper mapper;@Overridepublic UserDetails loadUserByUsername(String s) throws UsernameNotFoundException {// 根据账号查询用户信息UserExample example = new UserExample();example.createCriteria().andUserNameEqualTo(s);List<User> users = mapper.selectByExample(example);if(users != null && users.size() > 0){User user = users.get(0);if(user != null){List<SimpleGrantedAuthority> authorities = new ArrayList<>();// 设置登录账号的角色authorities.add(new SimpleGrantedAuthority("ROLE_USER"));UserDetails userDetails = new org.springframework.security.core.userdetails.User(user.getUserName(),"{noop}"+user.getPassword(),authorities);return userDetails;}}return null;}
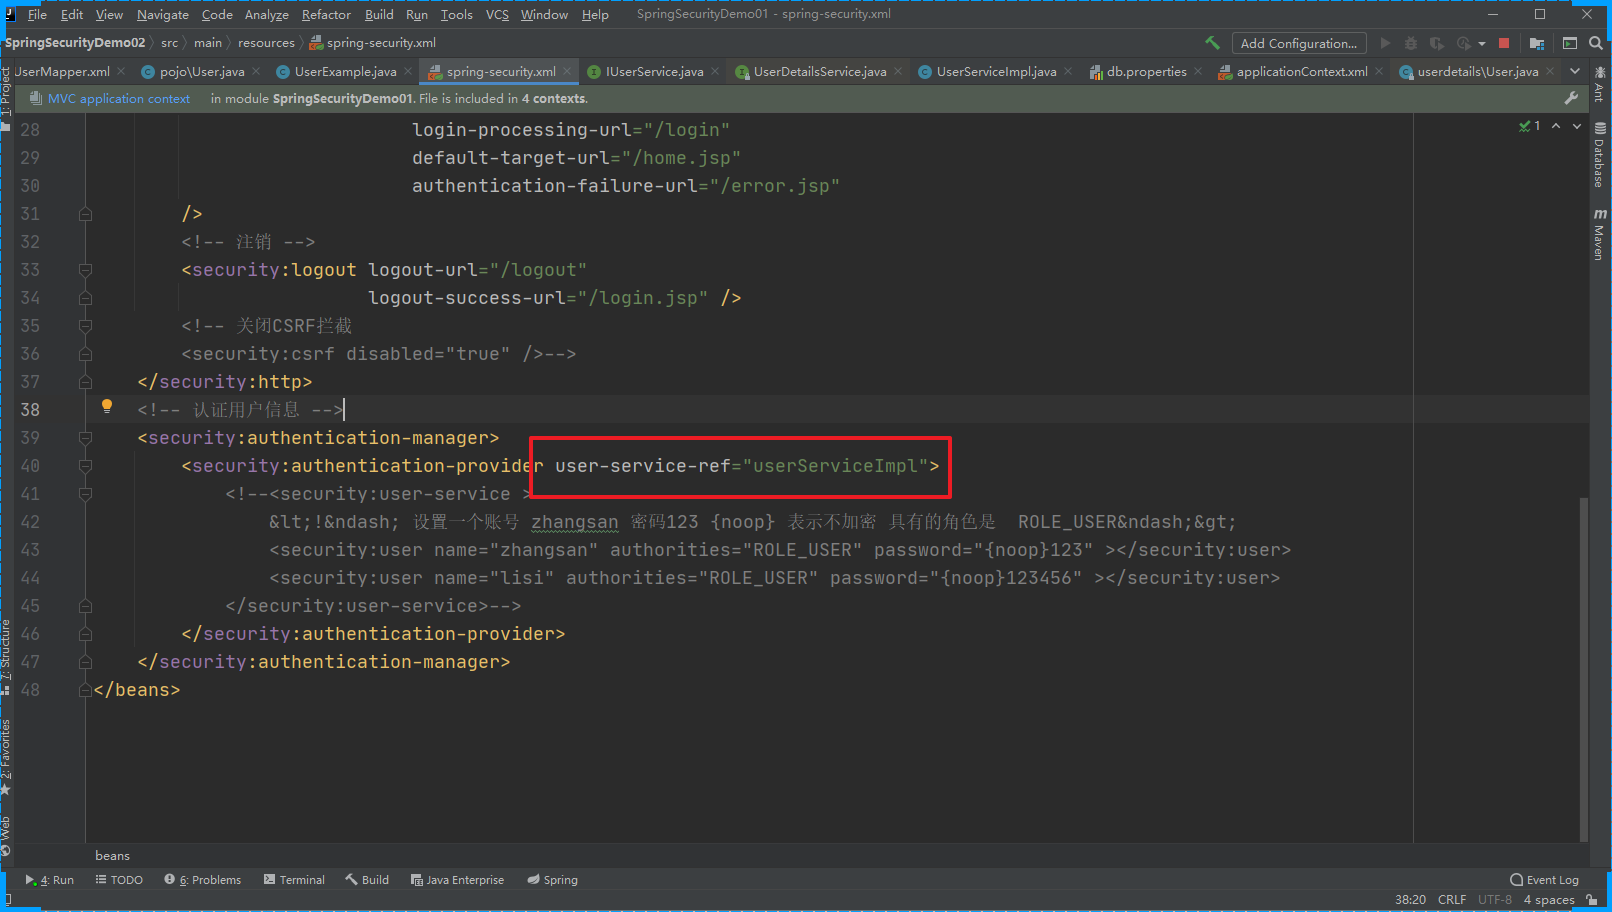
}最后修改配置文件关联自定义的service即可
加密
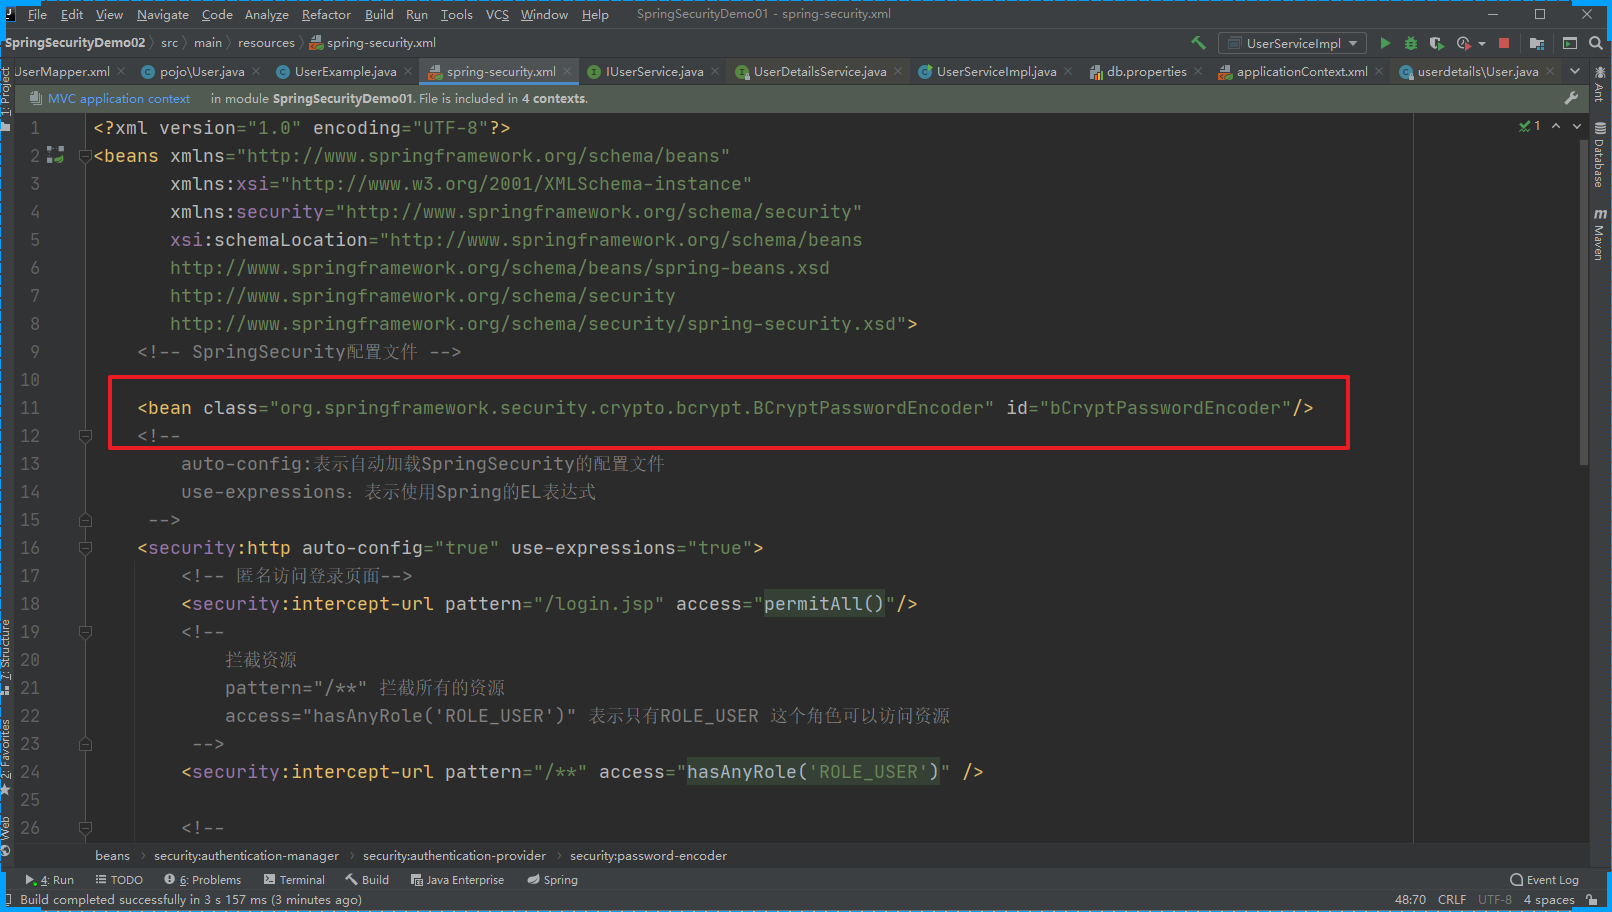
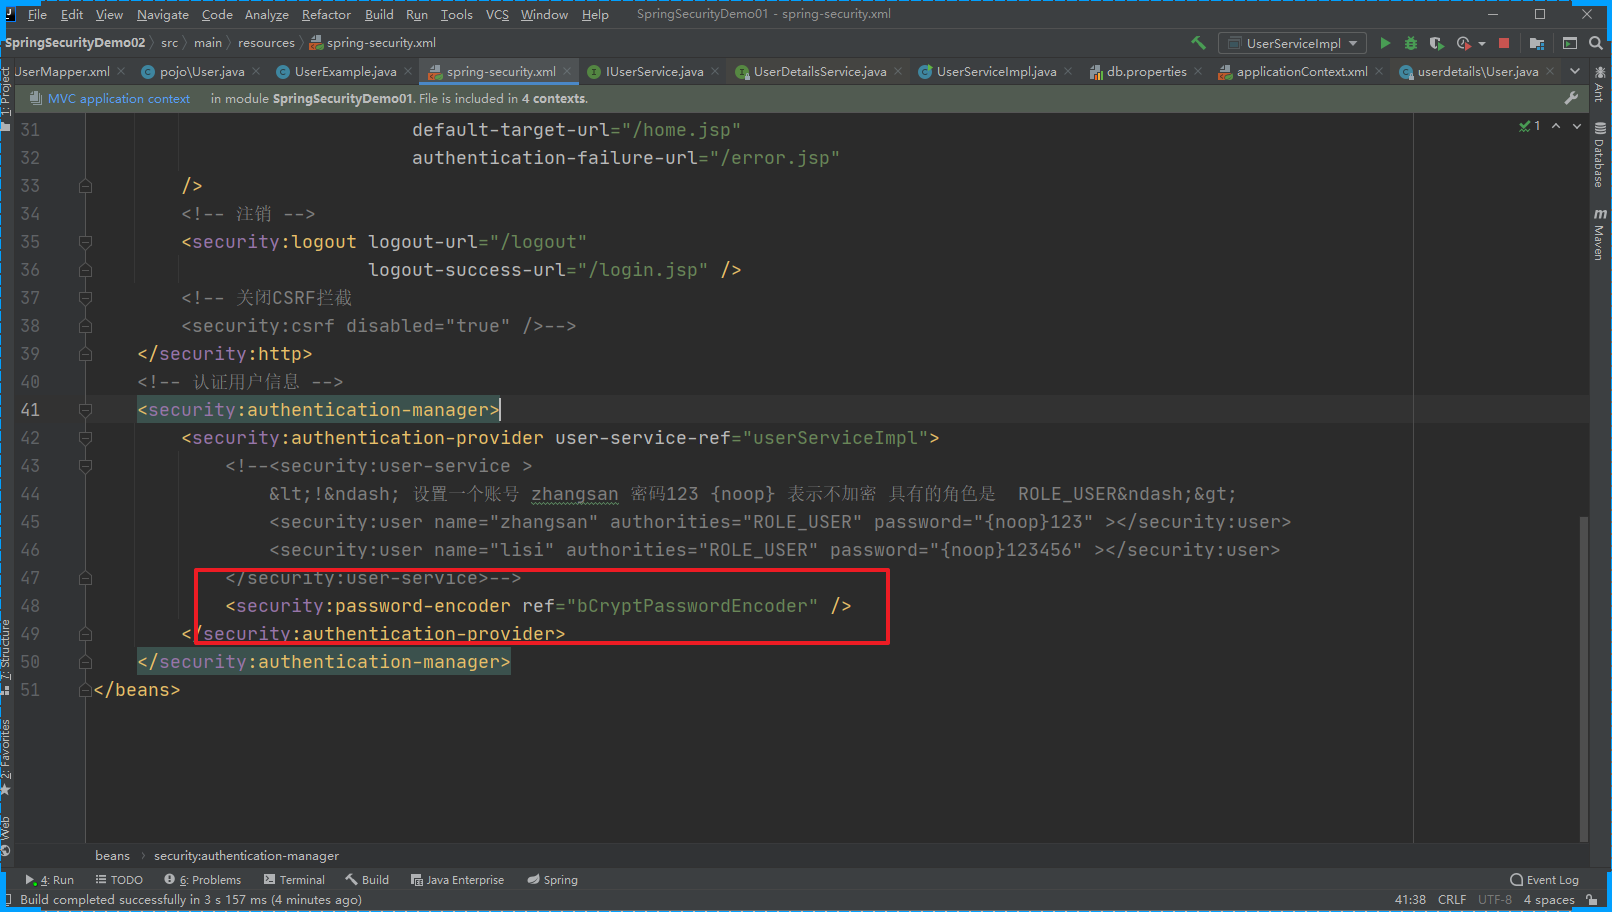
在SpringSecurity中推荐我们是使用的加密算法是 BCryptPasswordEncoder
修改配置文件
认证状态
用户的状态包括 是否可用,账号过期,凭证过期,账号锁定等等。
可以在用户的表结构中添加相关的字段来维护这种关系
记住我
在表单页面添加一个 记住我的按钮.
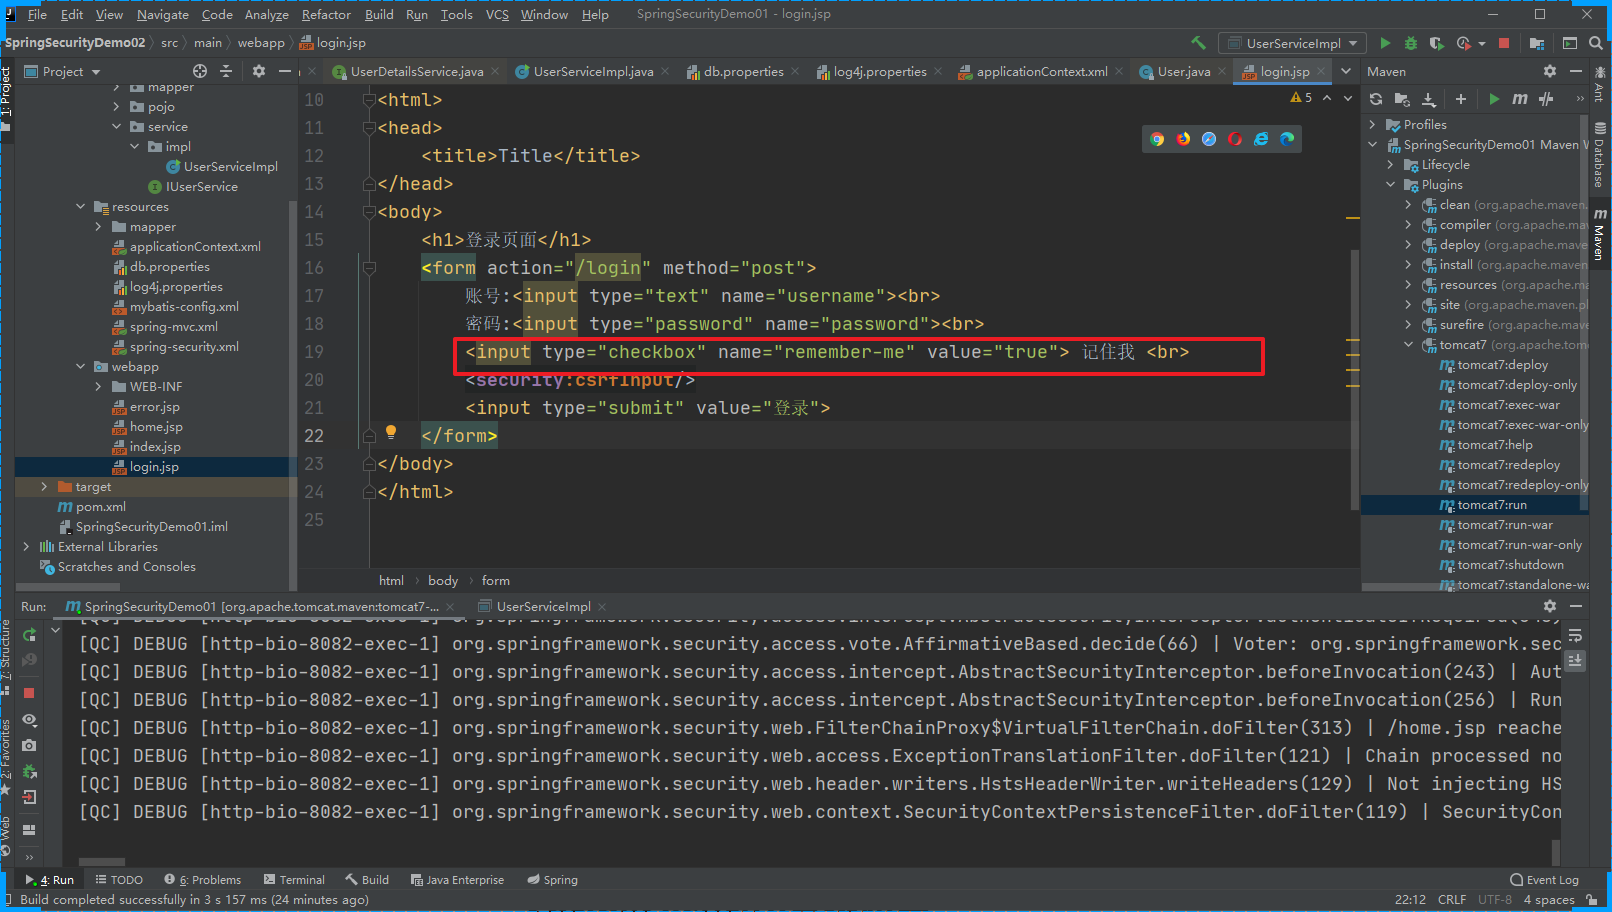
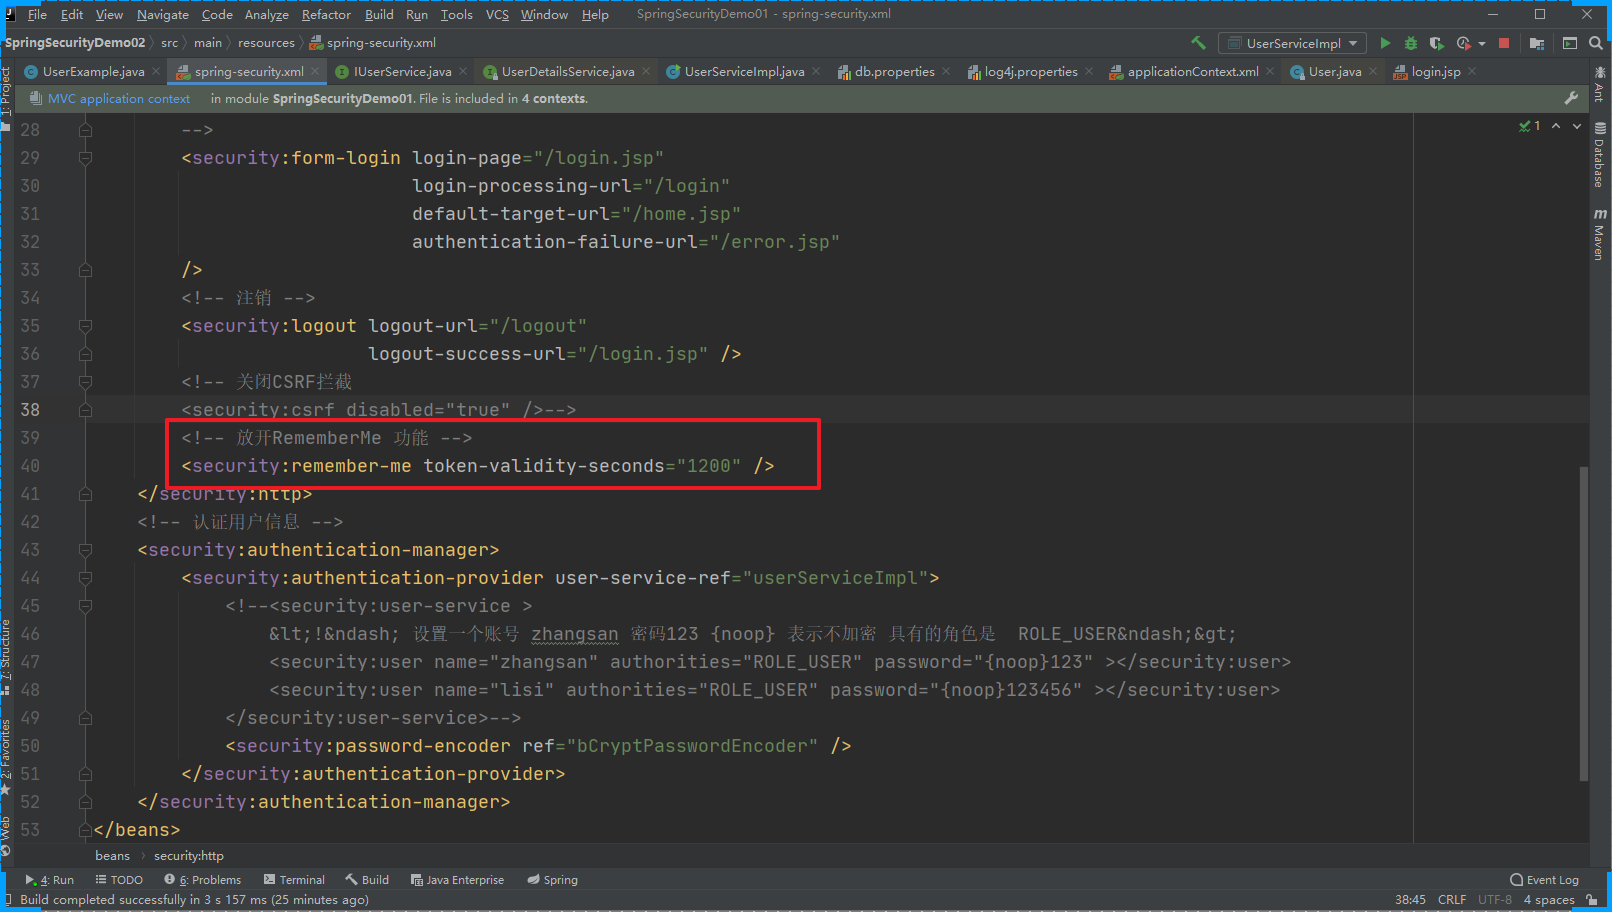
在SpringSecurity中默认是关闭 RememberMe功能的,需要放开
记住我的功能会方便大家的使用,但是安全性却是令人担忧的,因为Cookie信息存储在客户端很容易被盗取,这时我们可以将这些数据持久化到数据库中。
CREATE TABLE `persistent_logins` (
`username` VARCHAR (64) NOT NULL,
`series` VARCHAR (64) NOT NULL,
`token` VARCHAR (64) NOT NULL,
`last_used` TIMESTAMP NOT NULL,
PRIMARY KEY (`series`)
) ENGINE = INNODB DEFAULT CHARSET = utf8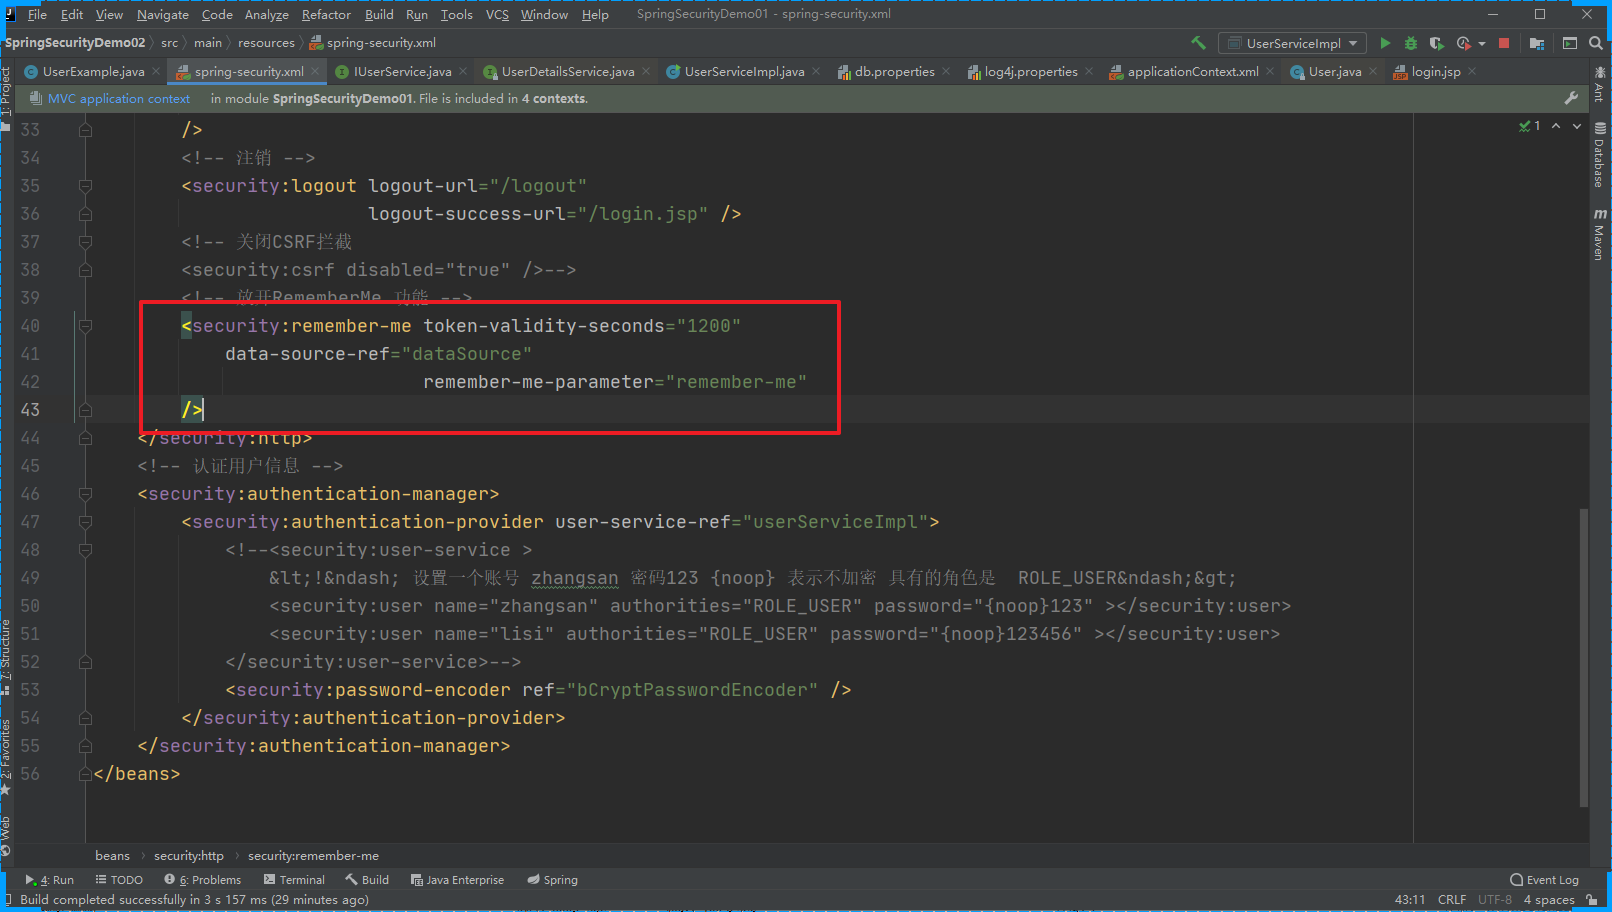
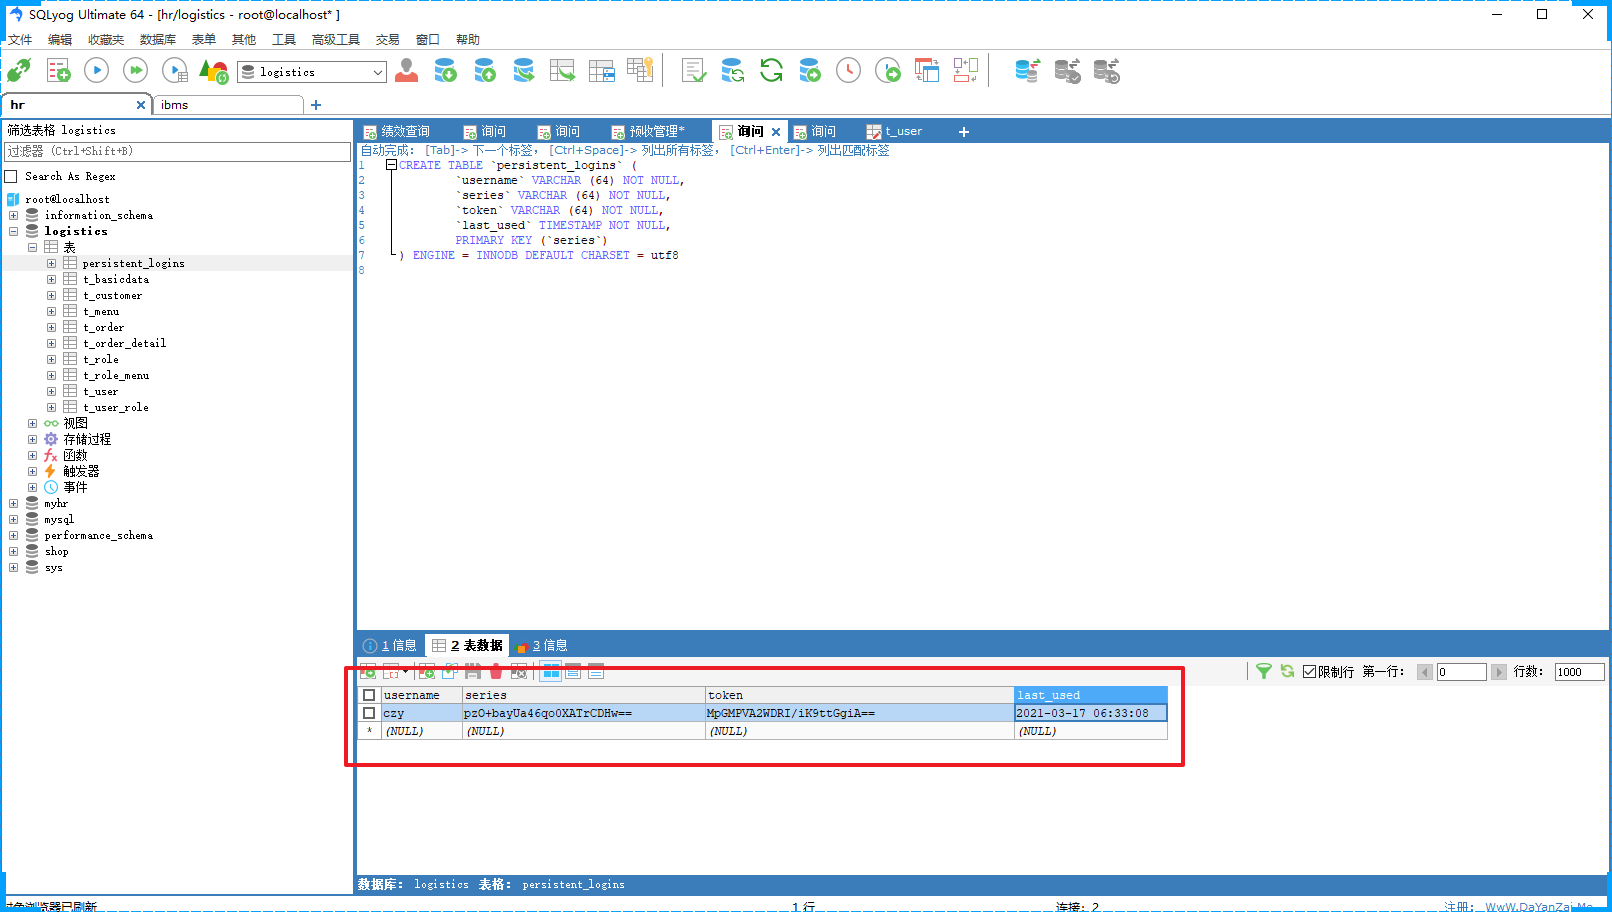
注意设置了过期时间,到期后并不是删除表结构中的数据,而是客户端不会在携带相关信息了,同时删除掉数据库中的数据 记住我也会失效
授权
注解使用
开启注解的支持
<?xml version="1.0" encoding="UTF-8"?>
<beans xmlns="http://www.springframework.org/schema/beans"xmlns:xsi="http://www.w3.org/2001/XMLSchema-instance"xmlns:context="http://www.springframework.org/schema/context"xmlns:mvc="http://www.springframework.org/schema/mvc"xmlns:security="http://www.springframework.org/schema/security"xsi:schemaLocation="http://www.springframework.org/schema/beanshttp://www.springframework.org/schema/beans/spring-beans.xsdhttp://www.springframework.org/schema/contexthttp://www.springframework.org/schema/context/spring-context.xsdhttp://www.springframework.org/schema/mvchttp://www.springframework.org/schema/mvc/spring-mvc.xsdhttp://www.springframework.org/schema/securityhttp://www.springframework.org/schema/security/spring-security.xsd"><context:component-scan base-package="com.xxx.controller"></context:component-scan><mvc:annotation-driven ></mvc:annotation-driven><!--开启权限控制注解支持jsr250-annotations="enabled" 表示支持jsr250-api的注解支持,需要jsr250-api的jar包pre-post-annotations="enabled" 表示支持Spring的表达式注解secured-annotations="enabled" 这个才是SpringSecurity提供的注解--><security:global-method-securityjsr250-annotations="enabled"pre-post-annotations="enabled"secured-annotations="enabled"/>
</beans>
jsr250的使用
添加依赖
<dependency><groupId>javax.annotation</groupId><artifactId>jsr250-api</artifactId><version>1.0</version>
</dependency>
控制器中通过注解设置
@Controller
@RequestMapping("/user")
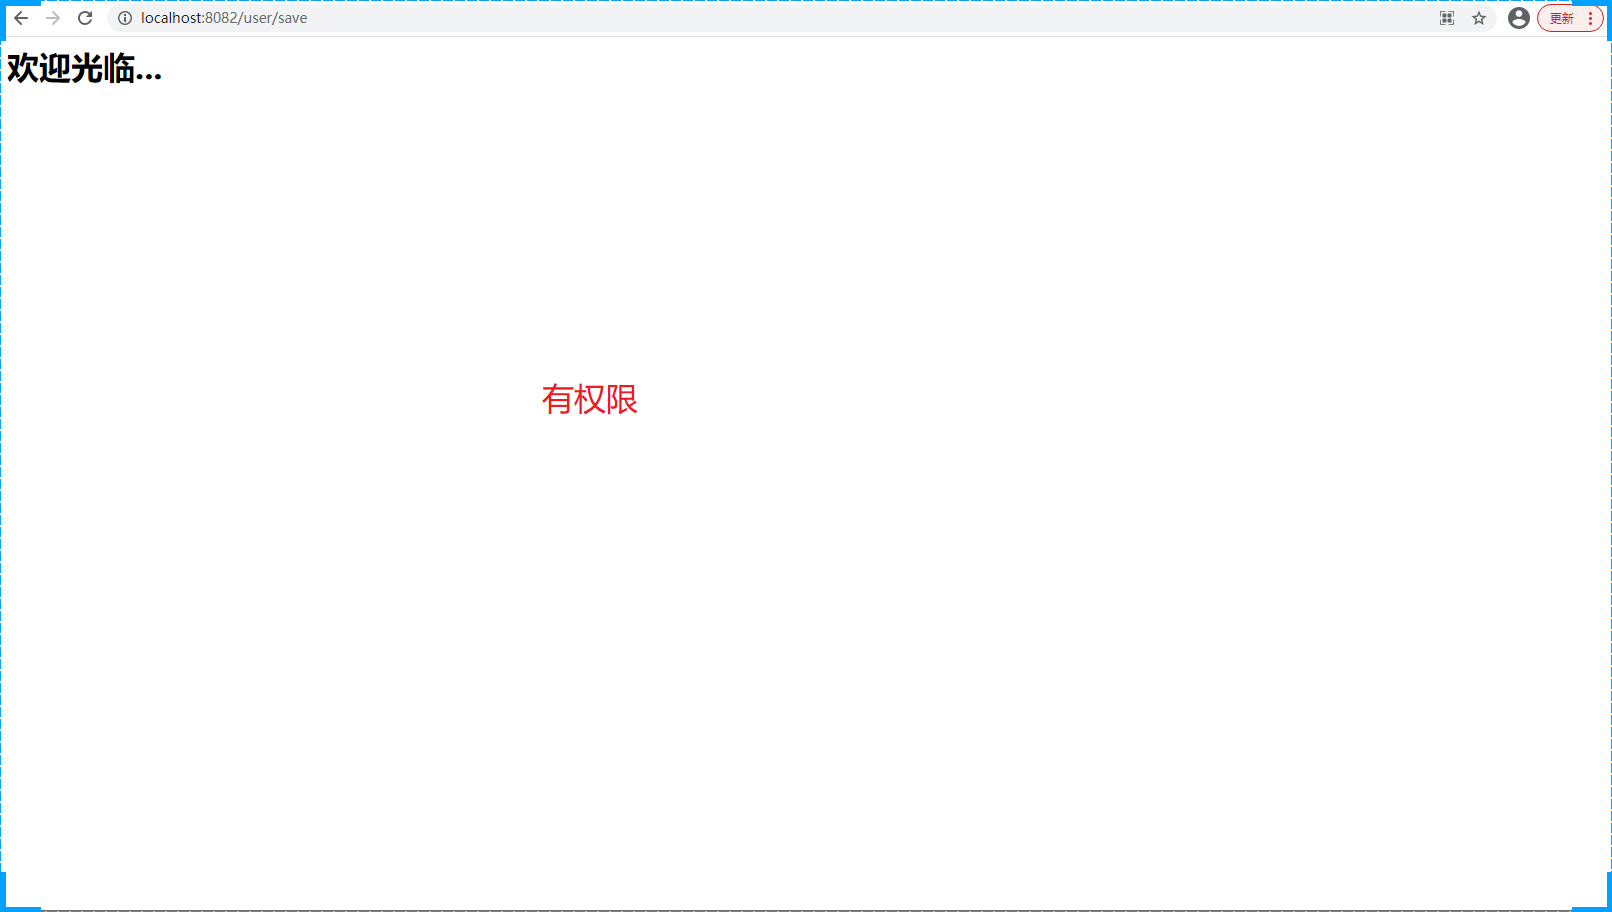
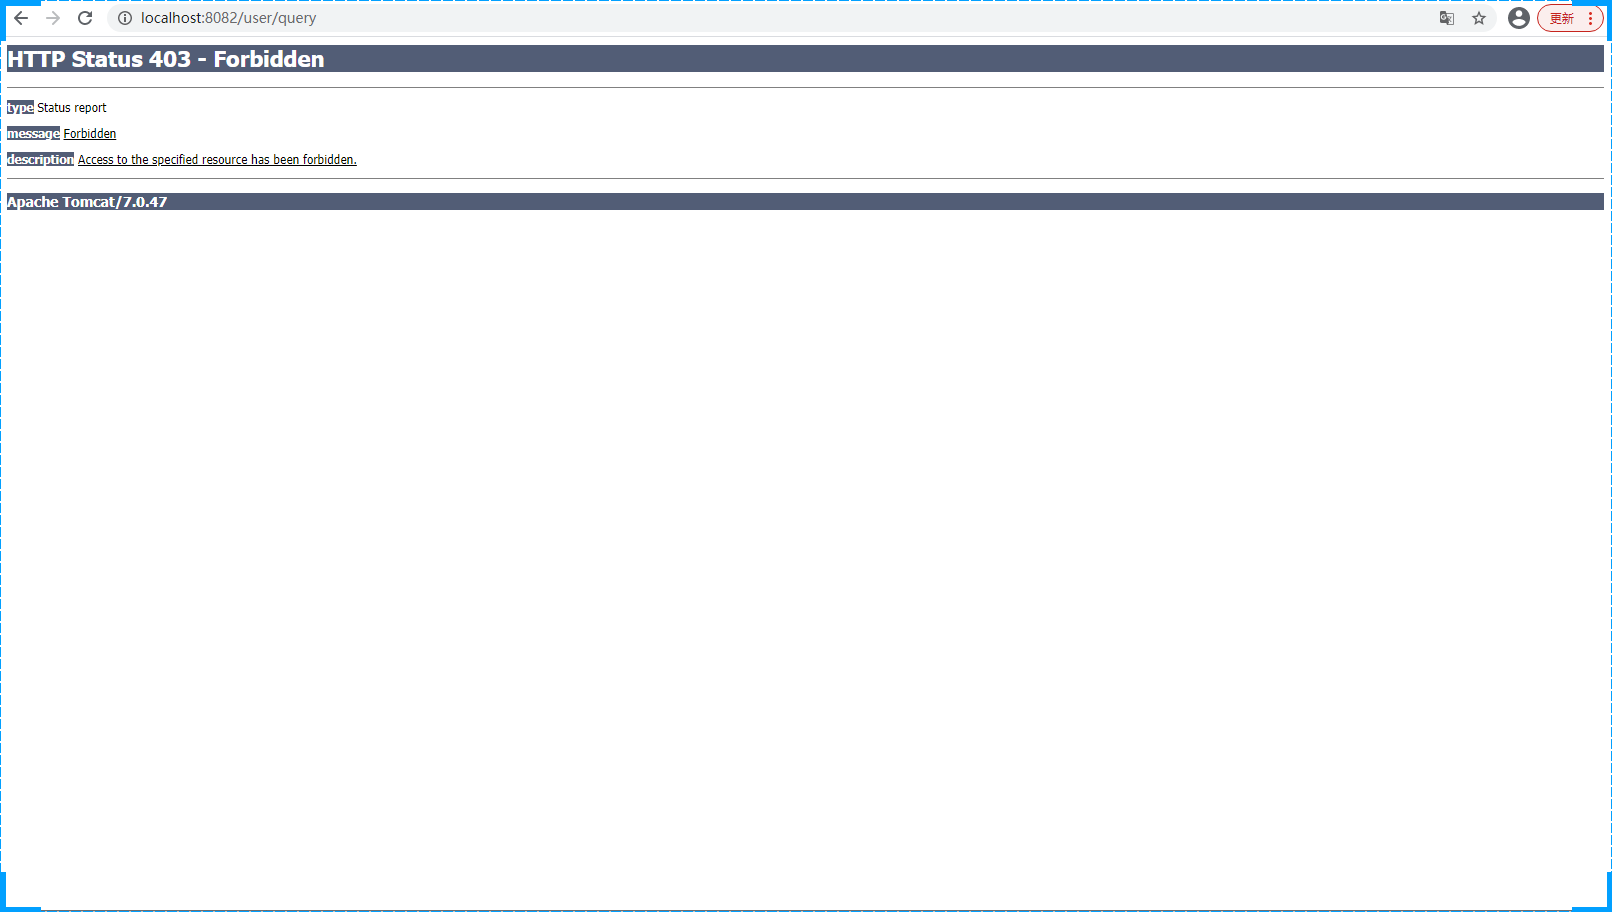
public class UserController {@RolesAllowed(value = {"ROLE_ADMIN"})@RequestMapping("/query")public String query(){System.out.println("用户查询....");return "/home.jsp";}@RolesAllowed(value = {"ROLE_USER"})@RequestMapping("/save")public String save(){System.out.println("用户添加....");return "/home.jsp";}@RequestMapping("/update")public String update(){System.out.println("用户更新....");return "/home.jsp";}
}
Spring表达式的使用
@Controller
@RequestMapping("/order")
public class OrderController {@PreAuthorize(value = "hasAnyRole('ROLE_USER')")@RequestMapping("/query")public String query(){System.out.println("用户查询....");return "/home.jsp";}@PreAuthorize(value = "hasAnyRole('ROLE_ADMIN')")@RequestMapping("/save")public String save(){System.out.println("用户添加....");return "/home.jsp";}@RequestMapping("/update")public String update(){System.out.println("用户更新....");return "/home.jsp";}
}
SpringSecurity提供的注解
@Controller
@RequestMapping("/role")
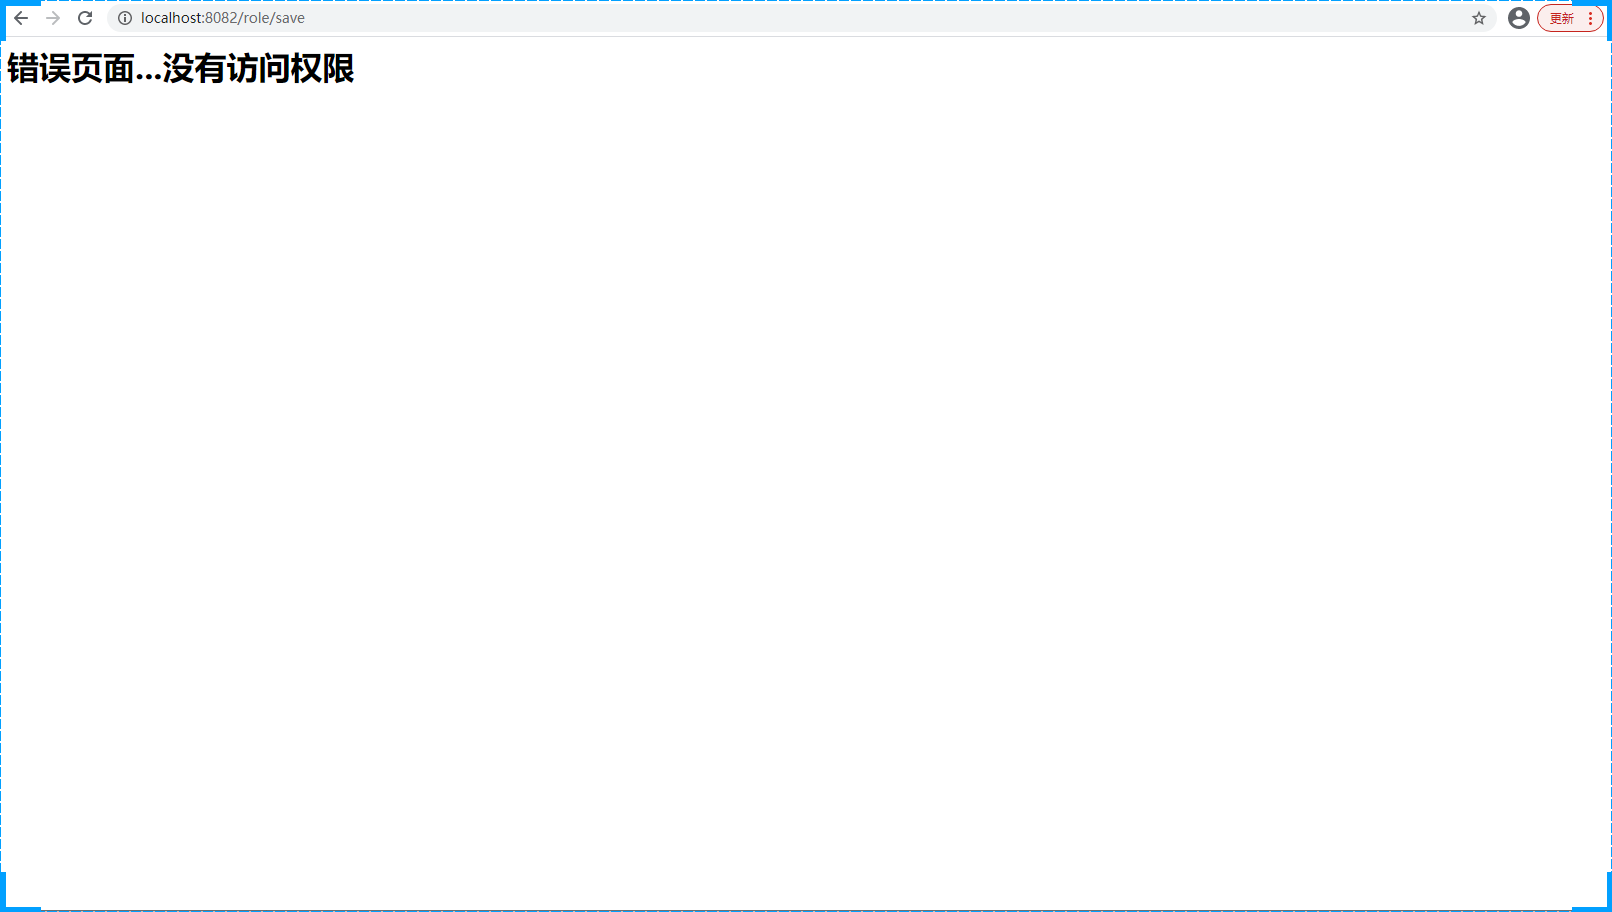
public class RoleController {@Secured("ROLE_USER")@RequestMapping("/query")public String query(){System.out.println("用户查询....");return "/home.jsp";}@Secured("ROLE_ADMIN")@RequestMapping("/save")public String save(){System.out.println("用户添加....");return "/home.jsp";}@RequestMapping("/update")public String update(){System.out.println("用户更新....");return "/home.jsp";}
}异常处理
新增一个错误页面,然后在SpringSecurity的配置文件中配置即可
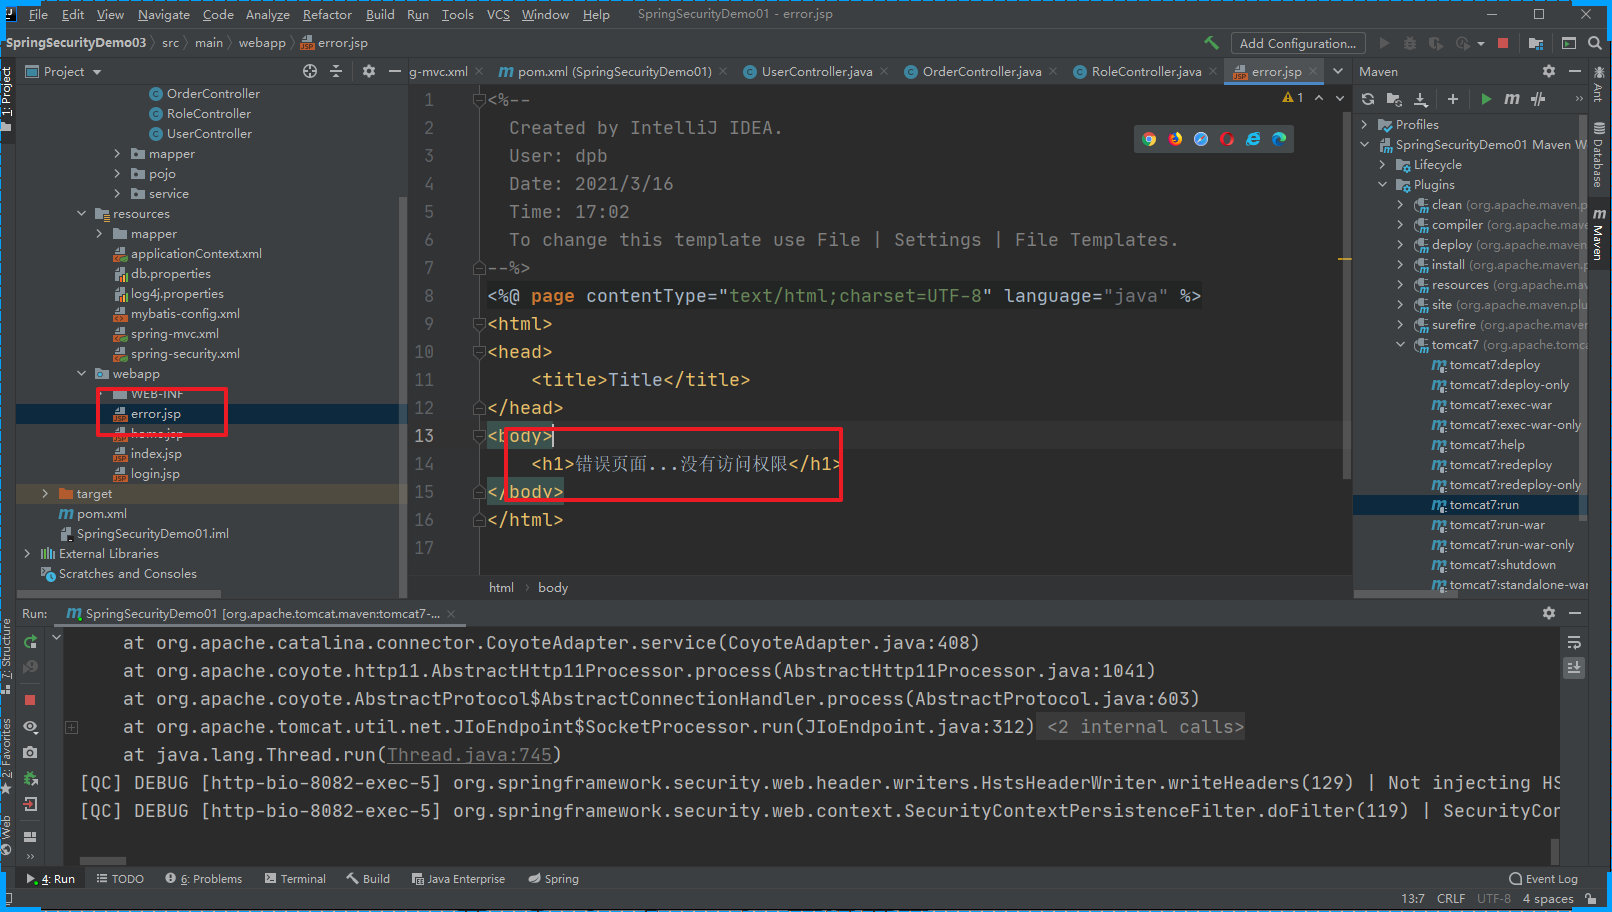

当然也可以使用SpringMVC中的各种异常处理器处理
标签使用
注解的权限管理可以控制用户是否具有这个操作的权限,但是当用户具有了这个权限后进入到具体的操作页面,这时我们还有进行更细粒度的控制,这时注解的方式就不太适用了,这时可以通过标签来处理
添加SpringSecurity的标签库
<%@ page contentType="text/html;charset=UTF-8" language="java" %>
<%@ taglib prefix="security" uri="http://www.springframework.org/security/tags" %>
<html>
<head><title>Title</title>
</head>
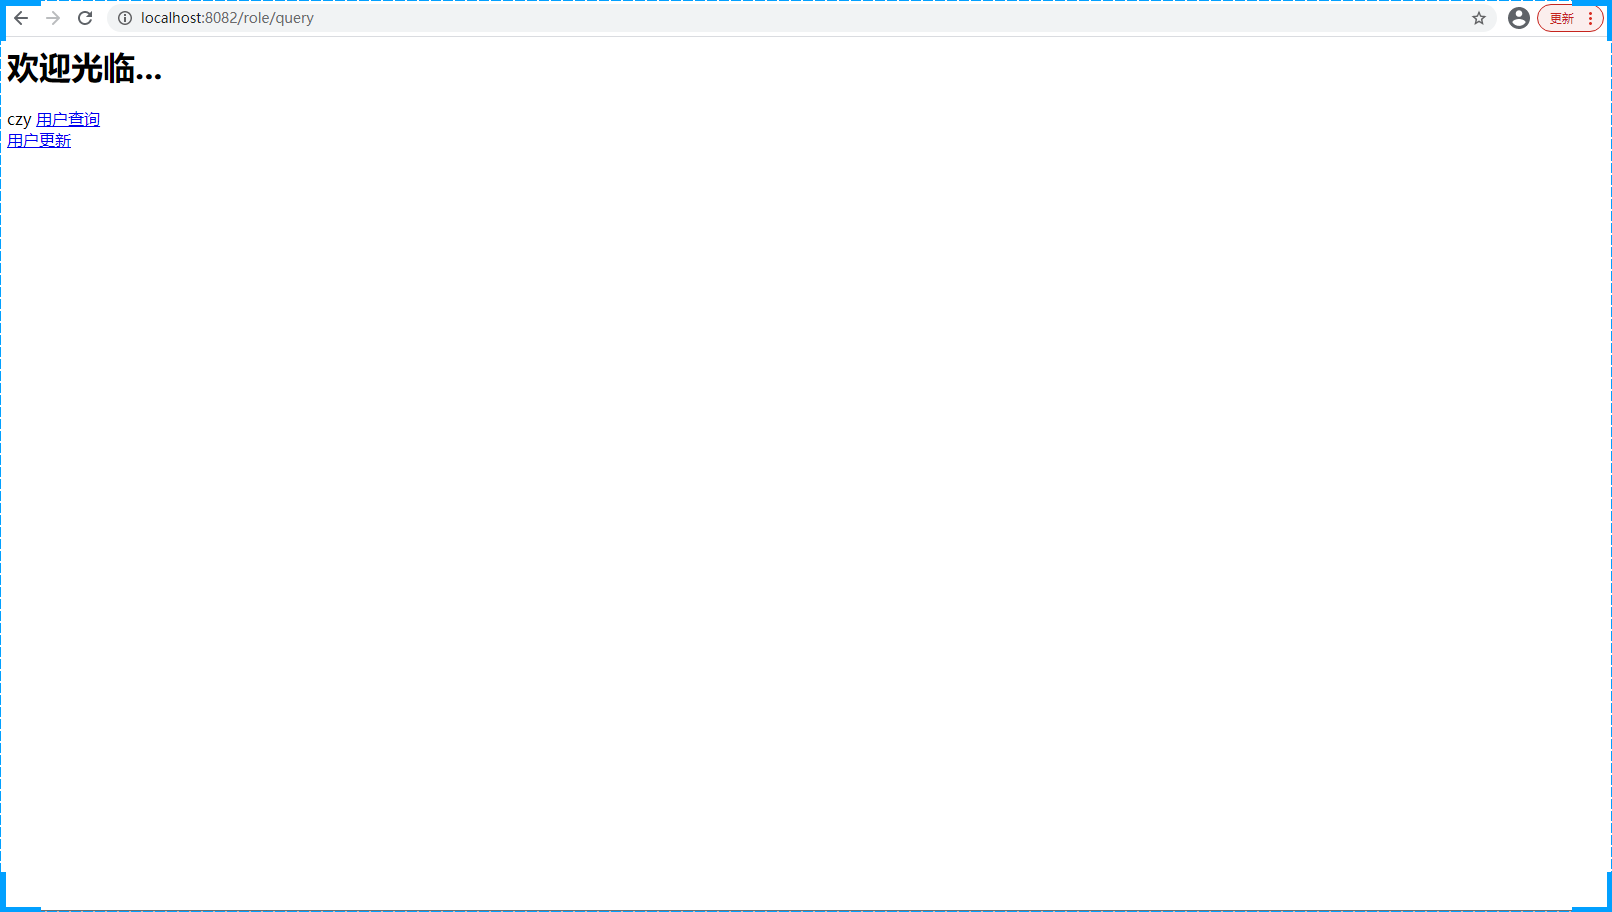
<body><h1>欢迎光临...</h1><security:authentication property="principal.username" /><security:authorize access="hasAnyRole('ROLE_USER')" ><a href="#">用户查询</a><br></security:authorize><security:authorize access="hasAnyRole('ROLE_ADMIN')" ><a href="#">用户添加</a><br></security:authorize><security:authorize access="hasAnyRole('ROLE_USER')" ><a href="#">用户更新</a><br></security:authorize><security:authorize access="hasAnyRole('ROLE_ADMIN')" ><a href="#">用户删除</a><br></security:authorize>
</body>
</html>页面效果